

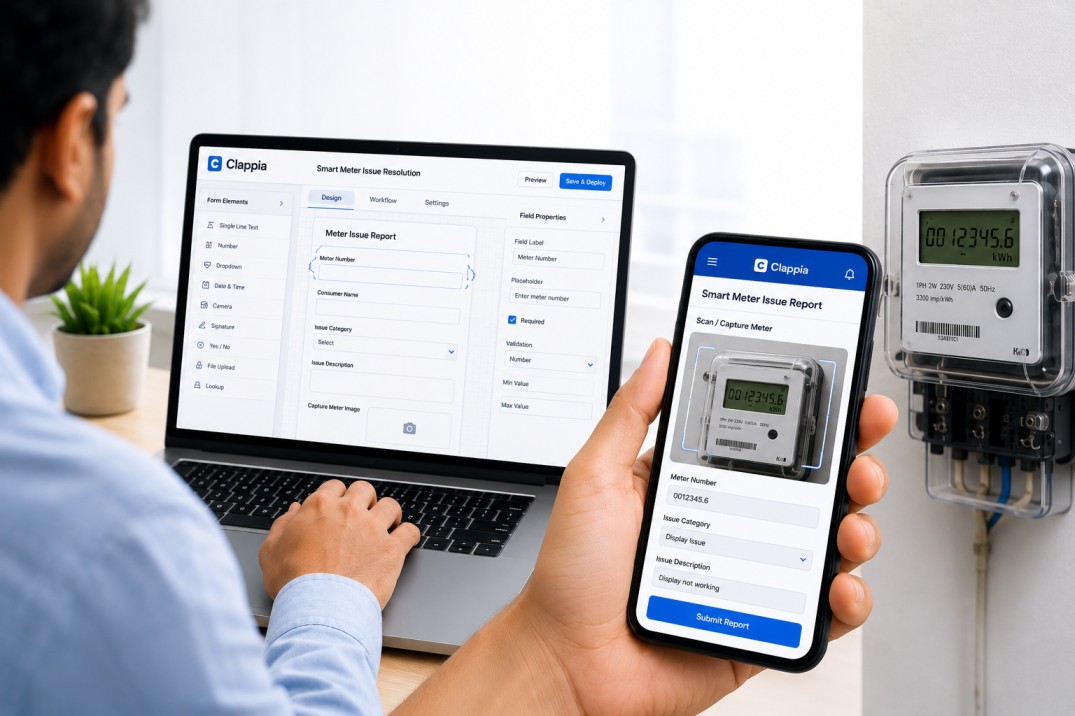
Every field operations team that manages connected metering infrastructure eventually builds some version of the same thing: a way for technicians to log what they found on site, document what they did, confirm the result with photos, and get the record reviewed. The question is how long it takes to build something reliable, and how much of that effort ends up being rebuilt when the first version turns out to be missing something.
This article is a spotlight on a complete, ready-to-configure starter pack for smart meter diagnostics and issue resolution, built entirely in Clappia. It covers every component in the setup: the four reference apps that anchor the data, the branching field app your technicians use on site, the conditional logic that keeps the form clean and context-specific, and the approval workflow that closes out each submission with a verified outcome. If you are setting up a field operations system for the first time, this pack gives you a complete starting point. If you already have something in place, it gives you a reference for what a complete setup looks like.
The pack consists of five Clappia apps: four reference apps and one field app. The reference apps hold the validated data your field app queries. The field app is what technicians open on their phones at every site visit. Together they form a closed system where data enters the field app through validated lookups, evidence is captured in context, and every submission is routed for review without any manual step in between.
| Component | Type | Role in the System |
|---|---|---|
| Asset and Account Master | Reference app | Holds account and meter records; supplies auto-filled identity data to the field app |
| Legacy SIM Reference | Reference app | Holds previously deployed SIM records; auto-fills provider name when old SIM is identified |
| Replacement SIM Inventory | Reference app | Holds available replacement SIM numbers; validates new SIMs at point of replacement |
| Replacement Meter Inventory | Reference app | Holds available replacement meter IDs; validates new meter unit before it enters the record |
| Smart Meter Issue Log | Field app (main) | The diagnostic form used on site; branches by issue type, enforces evidence capture, triggers approval |
The reference apps are the reason the field app works cleanly. Rather than asking technicians to type asset details from memory or look them up in a separate system, the field app queries these apps live and fills in the relevant fields automatically. Getting the reference apps populated accurately before you launch the field app is the most important setup step.
Asset and Account Master
This app is the primary identity register for every account and meter in your network. Create it with the following fields, each as a Single Line Text block:
| Field | What It Holds |
|---|---|
| Account ID | The unique identifier for each customer or service point |
| Meter ID | The identifier assigned to the physical meter at that location |
| Account Holder Name | The name on the account |
| Site Address | The physical installation location |
| Network Communication Status | Current connectivity state, such as Active, Inactive, or Intermittent |
| Installed SIM Number | The SIM number currently fitted in the meter |
| Installed SIM Provider | The telecom provider for the currently installed SIM |
When a technician searches by Account ID in the field app, the Meter ID, Account Holder Name, Site Address, and Network Communication Status all populate at once. The two SIM fields are available for reference if needed but do not auto-fill into the diagnostic form directly; they serve as background context for the account record.
Legacy SIM Reference
This app holds records for SIM cards that have been installed in meters in the past. When a technician identifies the SIM currently in a meter during a repair, they search this app and the telecom provider name auto-fills in the field form, removing the need to look up or guess the provider. Create it with three Single Line Text blocks:
Replacement SIM Inventory
This app tracks SIM cards available for deployment as replacements. It uses a Repeatable Section block containing a single Single Line Text block labelled SIM Number. The repeatable section allows up to 3 SIM entries per submission, which matches the typical scenario where SIMs are issued to technicians in small batches rather than individually. When a technician logs a SIM replacement, they look up the new SIM number against this app before recording it. If the number is not found, the lookup returns no result, prompting the technician to verify the SIM before continuing.
Replacement Meter Inventory
A minimal app with a single Single Line Text block labelled Meter ID. When a full meter unit replacement is performed, the technician looks up the replacement meter ID here to confirm it is a tracked, authorised asset before it enters the submission record. This prevents unrecognised equipment from being recorded without a corresponding inventory entry.
Populate your reference apps before launching the field app. The auto-fill behaviour depends entirely on the quality and completeness of the records in these apps. An incomplete Asset and Account Master means technicians fall back to manual entry, which reintroduces the data errors the lookups are designed to prevent.
This is the app your technicians open on their phones at every site visit. It is designed to be mobile-first, work in offline mode, and guide the technician through exactly the fields relevant to their current situation without presenting anything they do not need. The form is built in sections, and the sections that appear depend entirely on what the technician selects at the Issue Type field.
Opening Section: Zone and Account Identification
The first two fields handle location and identity. A Dropdown block labelled Zone (or Region, Circle, District, whichever term matches your operational structure) lets the technician identify the operational area. Configure the dropdown options to match your zones.
Below it, an Account ID field built using a Get Data from App block searches the Asset and Account Master. On selection, four read-only fields populate automatically: Meter ID, Account Holder Name, Site Address, and Network Communication Status. These confirm to the technician that they have found the right account and give them the context they need before proceeding.
If the visit involves replacing the meter unit, an optional Replacement Meter ID Get Data from App block validates the new meter against the Replacement Meter Inventory. Immediately after it, an Image Upload block captures a photo of the replacement unit at the point of entry.
Issue Type: The Branching Point
A Dropdown block labelled Issue Type presents two options: Infrastructure or Supply Issue and Meter Hardware Issue. This selection controls which section of the form becomes visible through Display Conditions. The section that does not apply is hidden, not just greyed out. The technician works through one clear path without having to navigate around irrelevant fields.
This section appears when Issue Type equals Infrastructure or Supply Issue. It handles site visits where the problem is not the meter hardware itself but something in the surrounding environment or installation. The fields capture a complete, auditable record of what was found without requiring the technician to navigate the more detailed meter diagnostic flow.
| Field | Block Type | Purpose |
|---|---|---|
| Issue Cause | Dropdown | Select from a defined list of non-hardware causes: Power Supply Off, Access Blocked, Network Dead Zone, Meter at Unreachable Height, Meter ID Mismatch on Display, Non-Smart Meter Installed, Other |
| Site Evidence Photos | Image Upload | Upload one or more photos documenting the condition found at site |
| Remarks | Multi-Line Text | Free text for any additional context, observations, or recommended actions |
| Technician Name | Single Line Text | The name of the individual completing the visit |
| GPS Location | GPS Location | Captures exact site coordinates at the time of submission; confirms technician presence at the correct location |
The GPS Location block is configured using Clappia's GPS Location block. It captures the device's coordinates at the moment the technician submits the form, not a manually entered address. This creates a verifiable location record that is directly tied to the submission rather than being a separate data point.
This section appears when Issue Type equals Meter Hardware Issue. It is set to collapsed by default in the section settings, so the technician expands it when they are ready to begin. It contains three sequential parts that mirror the natural order of a hardware repair: document the fault, record what was replaced, then document the resolved state.
Part 1: Before the Fix
This part captures everything about the meter's state before the technician begins work. Filling it in before touching the meter is what makes the before record meaningful; once the repair starts, the original fault display is gone.
Below these, three fields handle the SIM currently in the meter:
Part 2: Replacement Checks
Two Yes/No blocks gate the replacement fields. Both default to No, so the additional fields only appear when a replacement was actually made.
SIM Replaced? When set to Yes, three fields appear via Display Condition:
NIC Replaced? When set to Yes, one field appears:
Part 3: After the Fix
The after-fix section documents the resolved state of the meter and adds two checks that are only relevant once the repair is complete.
Clappia's Display Conditions are configured on sections and individual fields. Here is the complete set used in this starter pack:
| What Is Controlled | Condition | Effect |
|---|---|---|
| Infrastructure or Supply Issue section | Issue Type = Infrastructure or Supply Issue | Section appears; Meter Hardware Issue section is hidden |
| Meter Hardware Issue section | Issue Type = Meter Hardware Issue | Section appears (collapsed); Infrastructure section is hidden |
| New SIM Lookup, New SIM Photo, New SIM Provider | SIM Replaced? = Yes | Three replacement SIM fields become visible |
| NIC Variant | NIC Replaced? = Yes | NIC type dropdown becomes visible |
All other fields in the form are always visible once the relevant section is open. Display Conditions are only needed where fields should be completely absent unless a specific prior answer was given.
The approval workflow is configured in the field app's Workflow settings. It uses an On Save trigger, meaning the approval request fires automatically every time a technician saves a completed submission. There is no separate step the technician needs to take and no reminder the supervisor needs to set.
Configure the Approval node with the following settings:
| Setting | Value | Why It Matters |
|---|---|---|
| Trigger | On Save | Fires automatically on every submission; no manual initiation |
| Approval Name | Image Verification | Labels the approval in the notification and submission record |
| Recipients | Configured reviewer email or user variable | Determines who receives the review notification |
| Review Options | IMAGE VERIFIED / IMAGE NOT VERIFIED | Constrains the reviewer to a binary outcome; no ambiguity in the record |
| Notification Subject | Submission pending for Approval | Tells the reviewer exactly what action is needed |
| Notification Content | Include submission link variable | Reviewer opens the full record with one click; all photos and fields visible on one screen |
| Expiry | 7 days | Prevents approvals from sitting open indefinitely; a lapsed request flags an overdue review |
A second workflow with an On Edit trigger is also included. It contains only a passive start node and no further actions. This ensures that corrections made to a submission after the initial save do not trigger a new approval request, so a typo fix or remark update does not reset the review status or fill the reviewer's inbox with duplicates.
Clappia's Submission Status feature tracks every record through its lifecycle. This starter pack uses three statuses:
| Status | Set By | Meaning |
|---|---|---|
| SUBMITTED | Automatically on Save | The form has been saved. The approval request has been sent. The record is awaiting review. |
| IMAGE VERIFIED | Reviewer via approval outcome | The reviewer has examined the submission and confirmed the photos are complete, clear, and consistent with the data reported. |
| IMAGE NOT VERIFIED | Reviewer via approval outcome | The reviewer has flagged the photos as unclear, missing, or inconsistent. A follow-up is required before the record can be closed. |
Supervisors can filter the submissions view in Clappia by any of these statuses at any time. Filtering by SUBMITTED shows every record waiting for review. Filtering by IMAGE NOT VERIFIED surfaces every job that needs a follow-up conversation with the technician or a re-visit to the site.
Clappia manages user permissions at the app level. For this starter pack, configure access as follows:
| User Role | Access Level | What They Can Do |
|---|---|---|
| Field Technician | Submit Only | Open the app, fill in and save forms, view their own past submissions |
| Supervisor or Reviewer | View and Approve | View all submissions, action approval requests, filter by status and zone |
| Admin | Full Access | Manage all five apps, update reference data, configure workflows and permissions, access analytics |
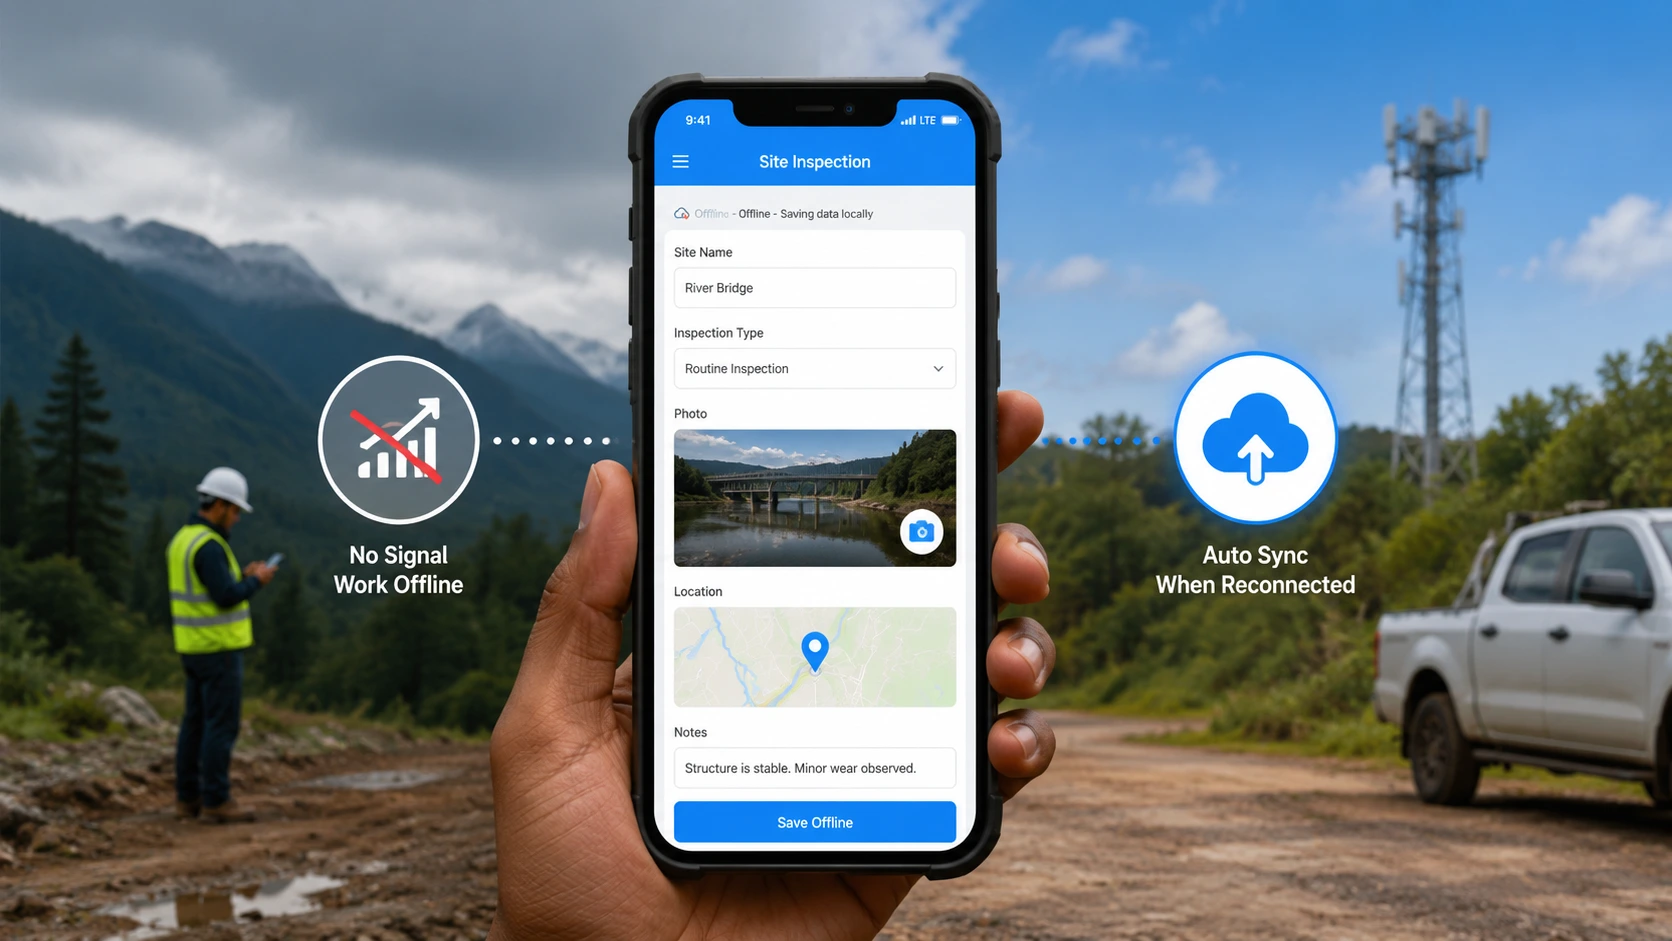
The Clappia mobile app, available on Android and iOS, supports offline mode. Technicians can fill in the entire form, upload photos, and capture GPS without a network connection. Submissions queue on the device and sync automatically when connectivity returns. For the Get Data from App lookups to work offline, technicians need to open the app on Wi-Fi before heading to a site so the reference data is cached locally.
This starter pack is designed to be used as-is for most connected metering and IoT field operations. A small number of elements will need to be adapted to match your specific setup:
The structure of the form, the conditional logic, the lookup configuration, and the workflow trigger all remain unchanged. Only the values inside the dropdowns and the recipient configuration need to be updated to reflect your organisation's specifics.
The deployment sequence takes each app in dependency order: reference apps first, field app second, workflow third, access last.
From the first submission, every visit generates a complete record: account and meter identity auto-filled, issue type clearly indicated, photographic evidence linked in context, GPS coordinates captured, and an approval outcome stored against the submission with a named reviewer. No aggregation step required between the field and the back office.
Once submissions are flowing, Clappia's Analytics feature lets you build live dashboards directly on the submission data. The starter pack data supports several immediately useful views:
These dashboards update in real time from live submission data and are accessible to anyone with the appropriate permission level inside Clappia. No data export or external reporting tool is required.
This starter pack covers the full lifecycle of a smart meter issue: identification, diagnosis, evidence capture, component replacement tracking, post-repair verification, and supervisor sign-off. Every element has a defined role, and each role connects to the next in a continuous chain from the technician's phone to the reviewer's inbox.
The pack is intentionally minimal in its fixed structure. The four reference apps and the field app can be recreated in Clappia without any coding. The conditional logic and approval workflow are standard Clappia features that require only configuration, not development. What you adapt to your organisation are the content values inside the fields: the zone names, error codes, carrier names, and reviewer assignments that reflect your specific operational context.
To get started, log in to Clappia and create your first reference app. The complete setup follows the deployment sequence above, and your team can begin using the field app on the same day.
L374, 1st Floor, 5th Main Rd, Sector 6, HSR Layout, Bengaluru, Karnataka 560102, India
3500 S DuPont Hwy, Dover,
Kent 19901, Delaware, USA


.svg)




3500 S DuPont Hwy, Dover,
Kent 19901, Delaware, USA
L374, 1st Floor, 5th Main Rd, Sector 6, HSR Layout, Bengaluru, Karnataka 560102, India




.avif)