
Still need help?

Set up the Auto-Submit function, customize the text and the action of the Submit, Save Draft, Discard Draft and the Print Submission buttons and also the message displayed after a new successful submission.
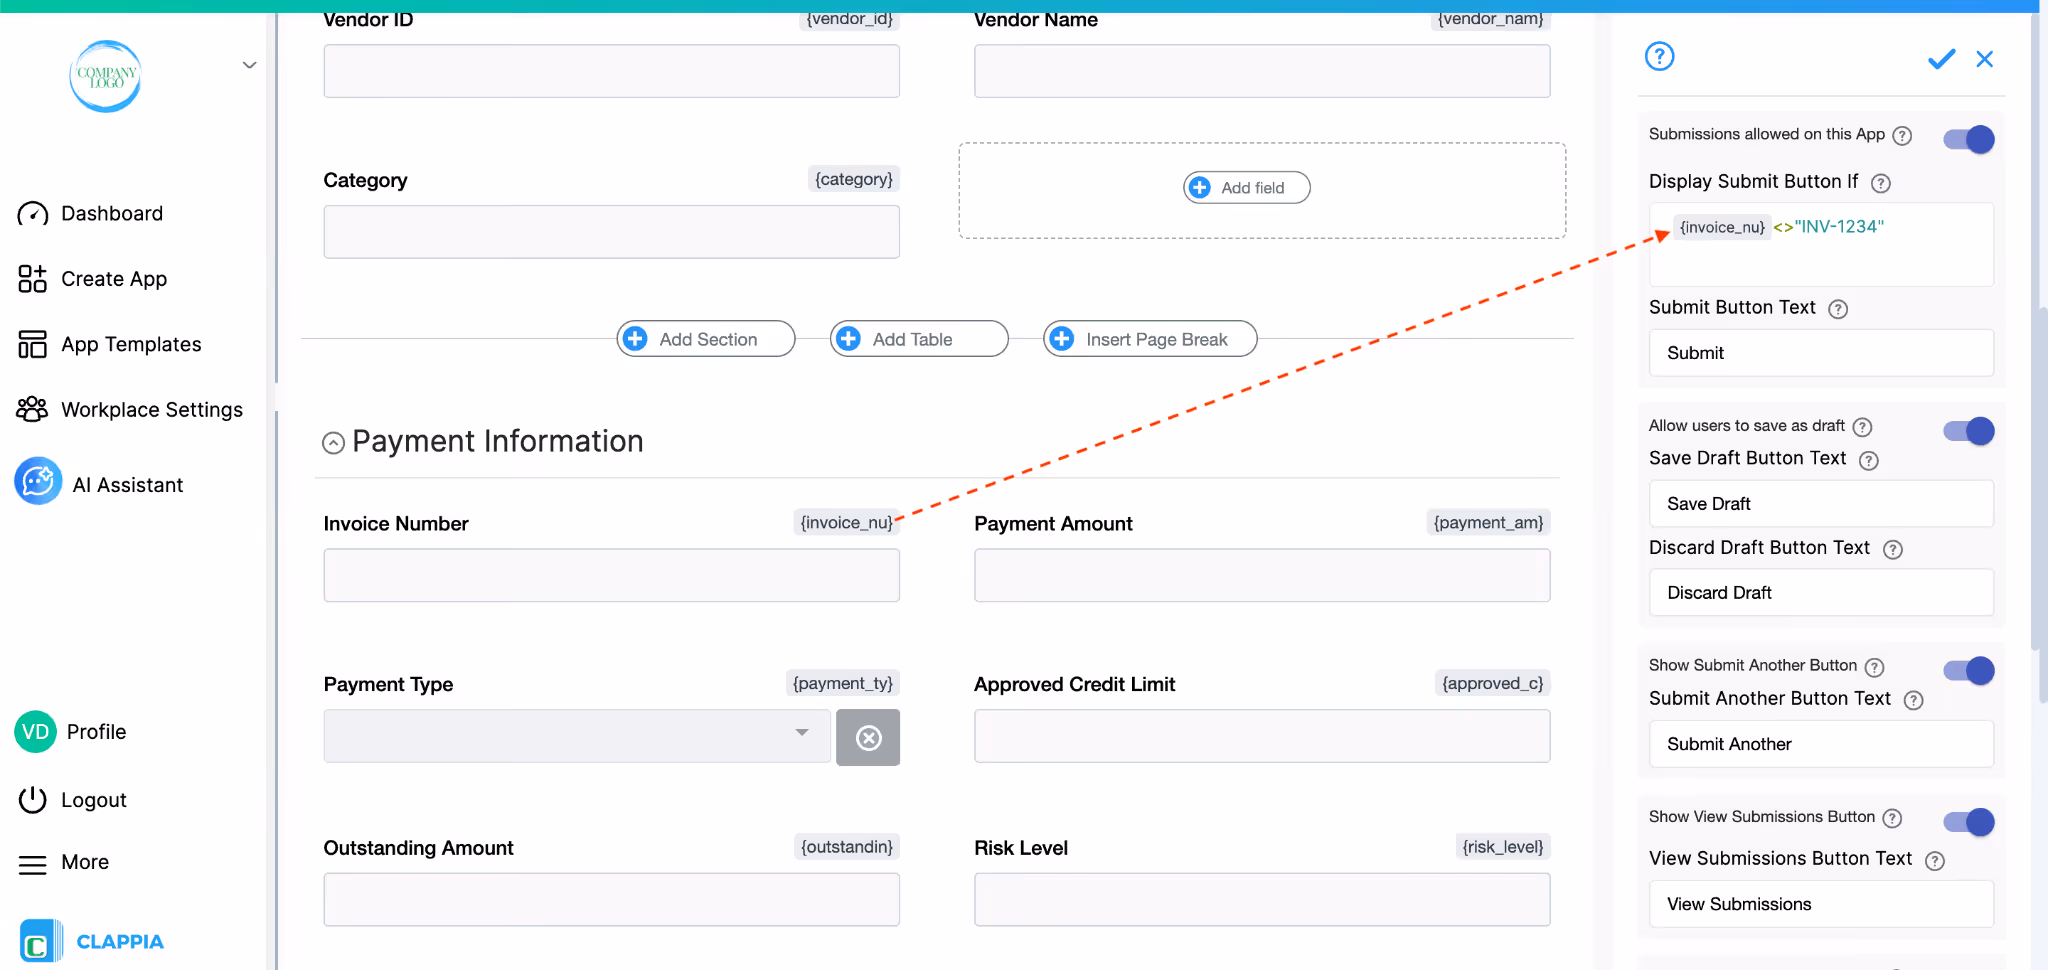
In the Design App tab, hover the cursor over the Submit and Draft buttons and click on that area on the screen. A right panel will appear where you can make edits to these buttons.

Submissions allowed on this app:
This option is enabled by default.
- Enabling this option allows the user to submit the data filled in the app.
- Disabling this option will not allow the user to submit the data filled in the app.
Customize the submit button by changing the text inside it.
‘Submit’ is the default text of the submit button.

This option lets the app admin control when the Submit button is visible to users, based on a condition. When the condition is met, the Submit button is shown; when it is not, the button is hidden and the user cannot make a submission.

For example, if only specific users or under specific conditions should be allowed to make submissions, the admin can enter a condition in this field. You can use Excel-like formulas including IF, AND, OR, etc. and reference field values by typing @ followed by the field name to select it from a dropdown.

Example: Lets say there is a field named Invoice number. If a condition is given like {invoice} <> “INV-1234”, this means the Submit button (and Draft button) will not appear when the field has the value INV-1234. For any other input, the Submit button will be seen.


This condition applies across all the following contexts:
In the web app - The Submit button (along with the ‘Save Draft’ button) appears or disappears as the user fills in the form, depending on whether the condition is met at that point.
Editing Submission - The same condition controls the Save button visibility when editing an existing submission in the Submissions tab.
Cloning Submission - The condition also controls the Clone; when cloning a submission, the same condition determines whether the cloned entry can be submitted. If the condition is not met, the Submit button will not be shown in the Clone view.
Mobile app, embedded app, and link sharing – The condition is respected across the Clappia mobile app, embedded apps, and when the app is shared via a link
Excel bulk upload/edit – When uploading or editing submissions via Excel, if the condition is not met for a row, that row will not be created or saved.
Multi-select field editing in Submissions tab – When multiple submissions are selected in the Submissions tab and you attempt to edit a field from the right panel, the edit will only be allowed if all selected submissions meet the display condition (i.e., would show the Submit button). If even one of the selected submissions does not meet the condition, the field edit will be blocked for the entire selection.
This option is enabled by default.
- Enabling this option allows the user to save the data filled in the app so that they may fill in the details later. The saved data in the fields will be reloaded once they reopen the app.
- Disabling this option will not allow the user to save data filled in the app as drafts.
Customize the save draft button by changing the text inside it.
‘Save Draft’ is the default text of this button.
Discard Draft Button Text:
Customize the discard draft button by changing the text inside it.
Discard Draft is the default text of this button.

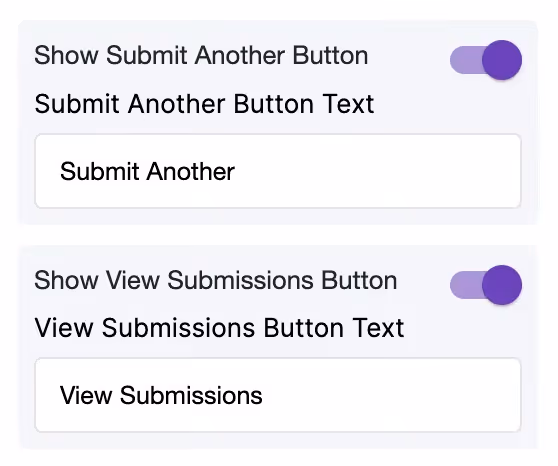
Once a submission has been made, by default, it will redirect the user to a page that will say that the submission made is successful and give them the option to make another submission or to view their submissions.

The buttons can be enabled or disabled individually depending on your needs. Their texts can also be altered from the Design App.
In case you have configured a pdf for your app, and after submissions, if the users need to print their submissions directly, this option can be enabled in the ‘Design App’ tab.
Customize the print submission button by changing the text inside it.
Note: A PDF would need to be configured first for this option to show in the Design App tab. This option cannot be enabled if there is more than 1 PDF configured for an app.


Customise the message that will be displayed after creating a successful submission.Field values can also be dynamically pulled here, by typing in @ followed by the field name. This now includes the unique numbering block as well (e.g., for order confirmations, ticketing systems, audit records, etc).
Your Submission was successfully saved with Submission Id:<b><span class=“text-info”>@submissionId</span></b>
Input: Your Submission was successfully saved with Submission Id:<b><span class="text-info">{$submissionId}</span></b>

Result: Your Submission was successfully saved with Submission Id: SII26725649
(mobile app view)

Input: Audit has been conducted and the details are recorded successfully with Submission Id:<b><span class="text-info">{$submissionId}</span></b>

Result: Audit has been conducted and the details are recorded successfully with Submission Id: JIS93101431
(mobile app view)

Set up the action of the app for the user to automatically navigate after the user creates a successful submission.


To allow the redirection to the print preview:
Once this is done, future submissions will automatically open the print preview without interruption.
Enter redirection time (in seconds)

For all the above options (except none), an additional setting called "Enter redirection time (in seconds)" is available. Admins can set a delay between 1 to 30 seconds before the redirection occurs, giving users time to review the submission confirmation message before being taken to the selected destination.
Select a field from the list of blocks used in your Clappia app to assign the auto-submit function.
Auto-submit is allowed only for the following blocks:

1. Code Scanner - QR Code/Barcode scanner
Select the Code Scanner block for auto-submit. Upon scanning any QR Code or Barcode, a submission is created automatically.
2. NFC Reader - Scan NFC Tags
Select the NFC Reader block for auto-submit. Upon scanning any NFC tag, a submission is created automatically.
3. Ratings - Provide rating score
Select the Ratings block for auto-submit. Upon providing a rating score, a submission is created automatically.
3. Camera, Image & Files - Click a picture and upload or upload media from the gallery.
Camera - Select the Camera, Images & Files block for auto-submit. Upon clicking the picture, a submission is created automatically.
Image & Files - Select the Camera, Images & Files block for auto-submit. Upon selecting all the images or files, a submission is created automatically.
Note: Auto-submit is triggered when the selected auto-submit field is filled. If multiple fields are selected, auto-submit is triggered only after all the selected fields are filled. Other fields in the app do not need to be filled for auto-submit to trigger.
If there are required fields or validation conditions configured in the app, the submission will not be completed until those conditions are satisfied. In such cases, the same validation errors will be shown as when a user manually clicks Submit.
L374, 1st Floor, 5th Main Rd, Sector 6, HSR Layout, Bengaluru, Karnataka 560102, India
3500 S DuPont Hwy, Dover,
Kent 19901, Delaware, USA


3500 S DuPont Hwy, Dover,
Kent 19901, Delaware, USA
L374, 1st Floor, 5th Main Rd, Sector 6, HSR Layout, Bengaluru, Karnataka 560102, India
.svg)
