
Still need help?

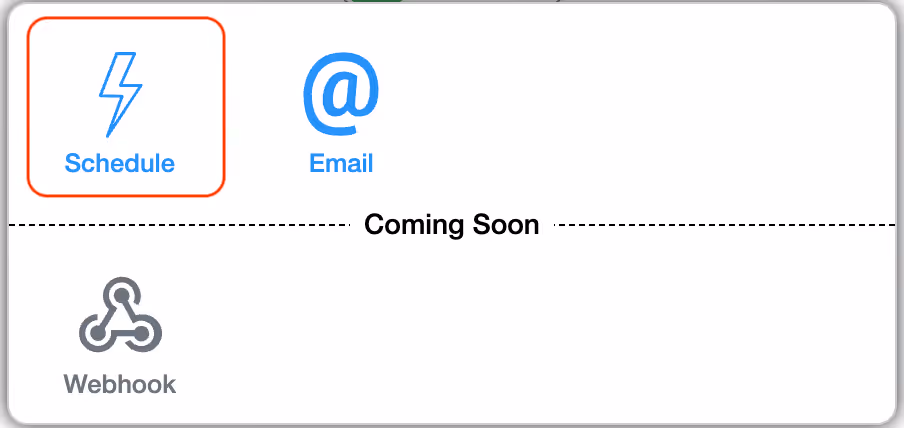
The Schedule workflow allows you to run workflows automatically based on a fixed schedule, without any user action. Unlike other flows such as New Submission Flow, Edit Submission Flow, or Review Submission Flow, which depend on a user creating, editing, or reviewing a submission, the Schedule workflow is under the Trigger Based Flows that operates independently of user activity. Click here to know more about the different flows.
Once set up, it will automatically trigger the steps configured below it at the specified times. This makes it ideal for running recurring, time-based processes without manual intervention.
Here are a few examples of how the Schedule workflow can be useful:

Go to Design App > Workflows > Trigger Based Flows. Click on Start to add the Schedule workflow.
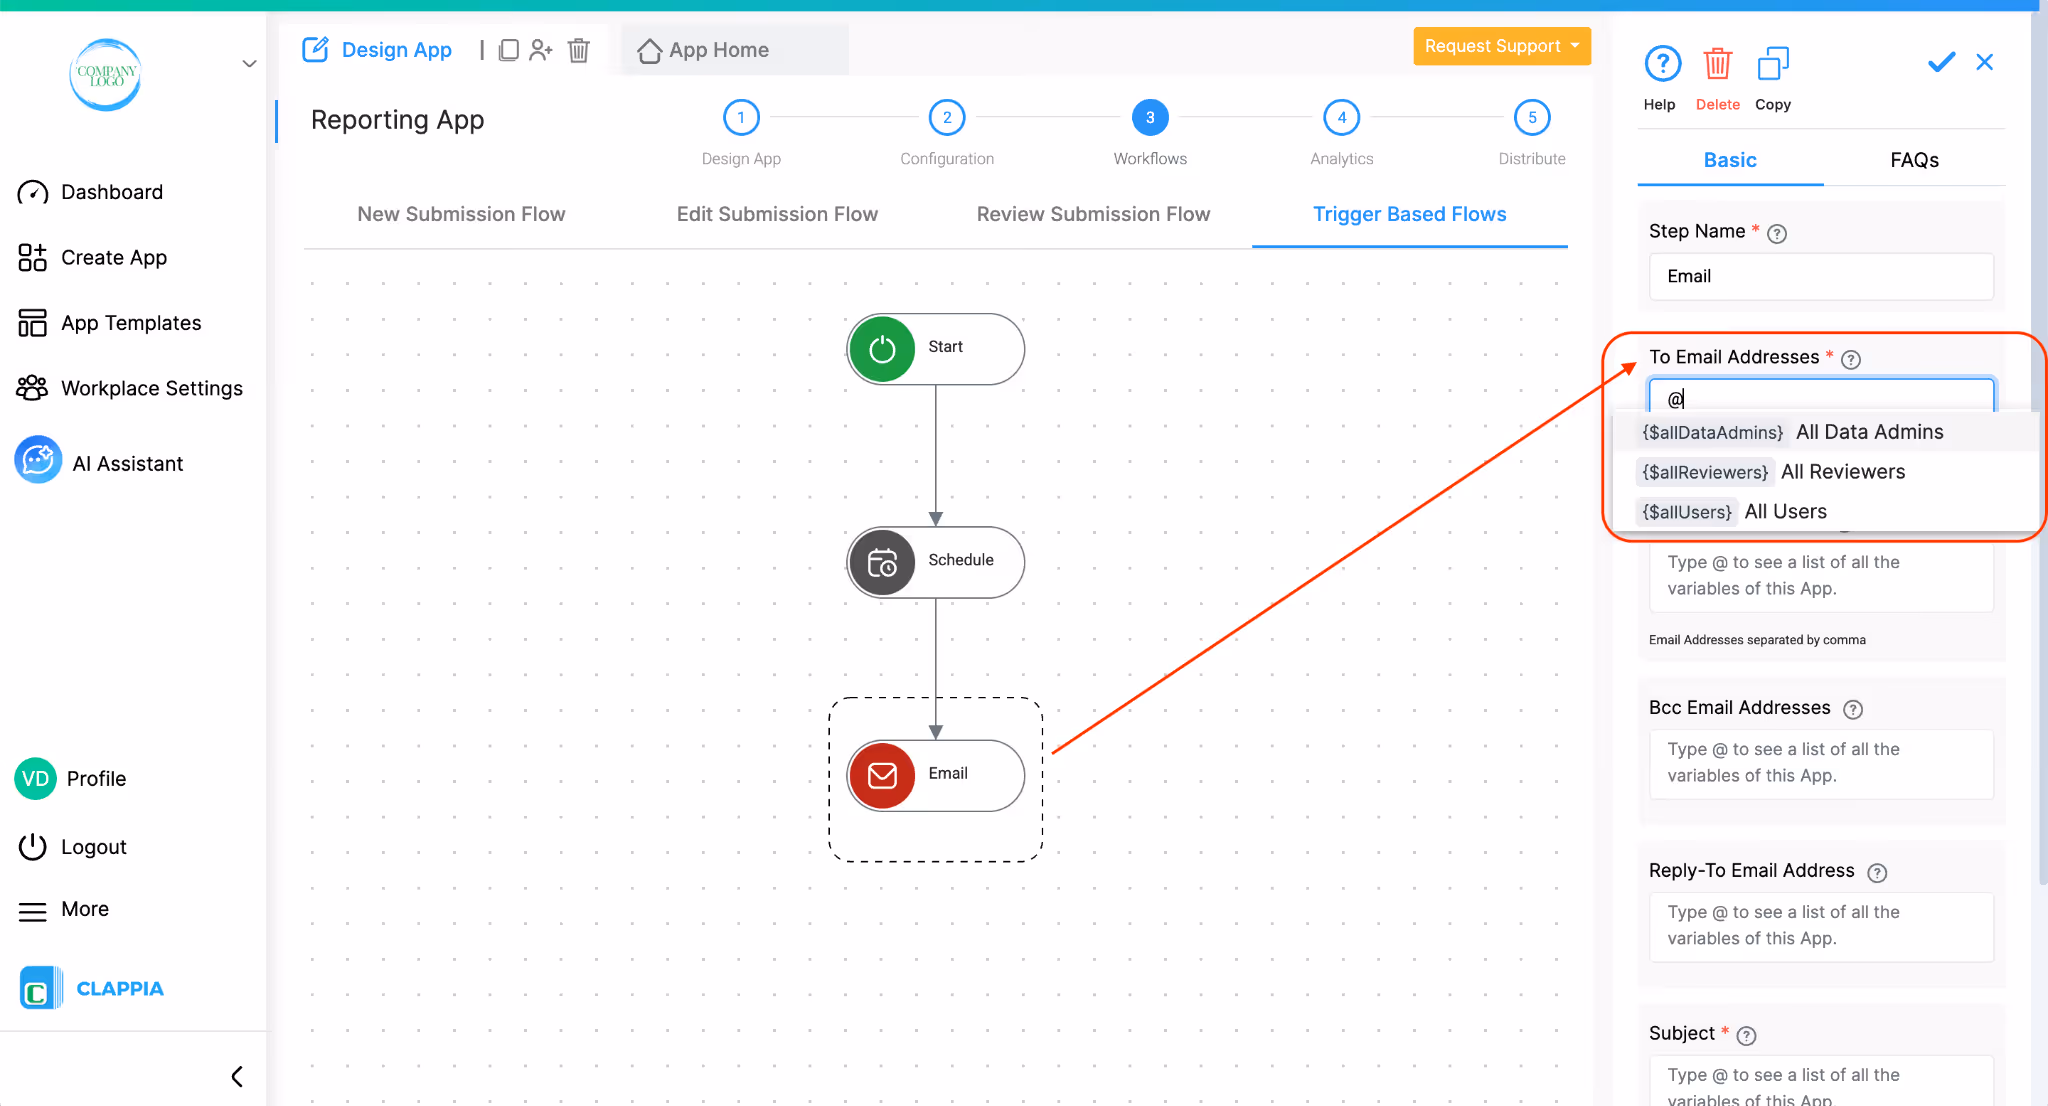
When you add the Schedule workflow to a Trigger Based Flow, you can configure it using the panel on the right.
Enter a descriptive name for the Schedule workflow. This helps identify the purpose of this schedule, especially if you have multiple schedules running in the same app.

Select how often the scheduled action should run. The available options are:
The platform runs the schedule according to the Workplace Admin’s workplace timezone.
The execution options change depending on the selected frequency:
Hourly

Daily

Weekly

Monthly

Once you have set the frequency and execution details, the panel will display a ‘Next Occurrences’ list.
This shows the upcoming dates and times when the schedule will run, based on your current configuration.
It is only for your reference, changing this list directly is not possible.
This workflow is enabled by default. Disable it for the Schedule and the whole workflow below it to stop from executing.

Once the Schedule is configured, you must add at least one workflow step below it for the schedule to have an effect.
You can add multiple workflow steps under a single Schedule step if you want it to trigger multiple submissions at the same time.
For example:
Steps added below a Schedule workflow cannot be moved under another parent step.
These steps also cannot be copied.
When a Schedule workflow runs, it is not triggered by a submission. Because of this, the workflow does not have submission data by default.
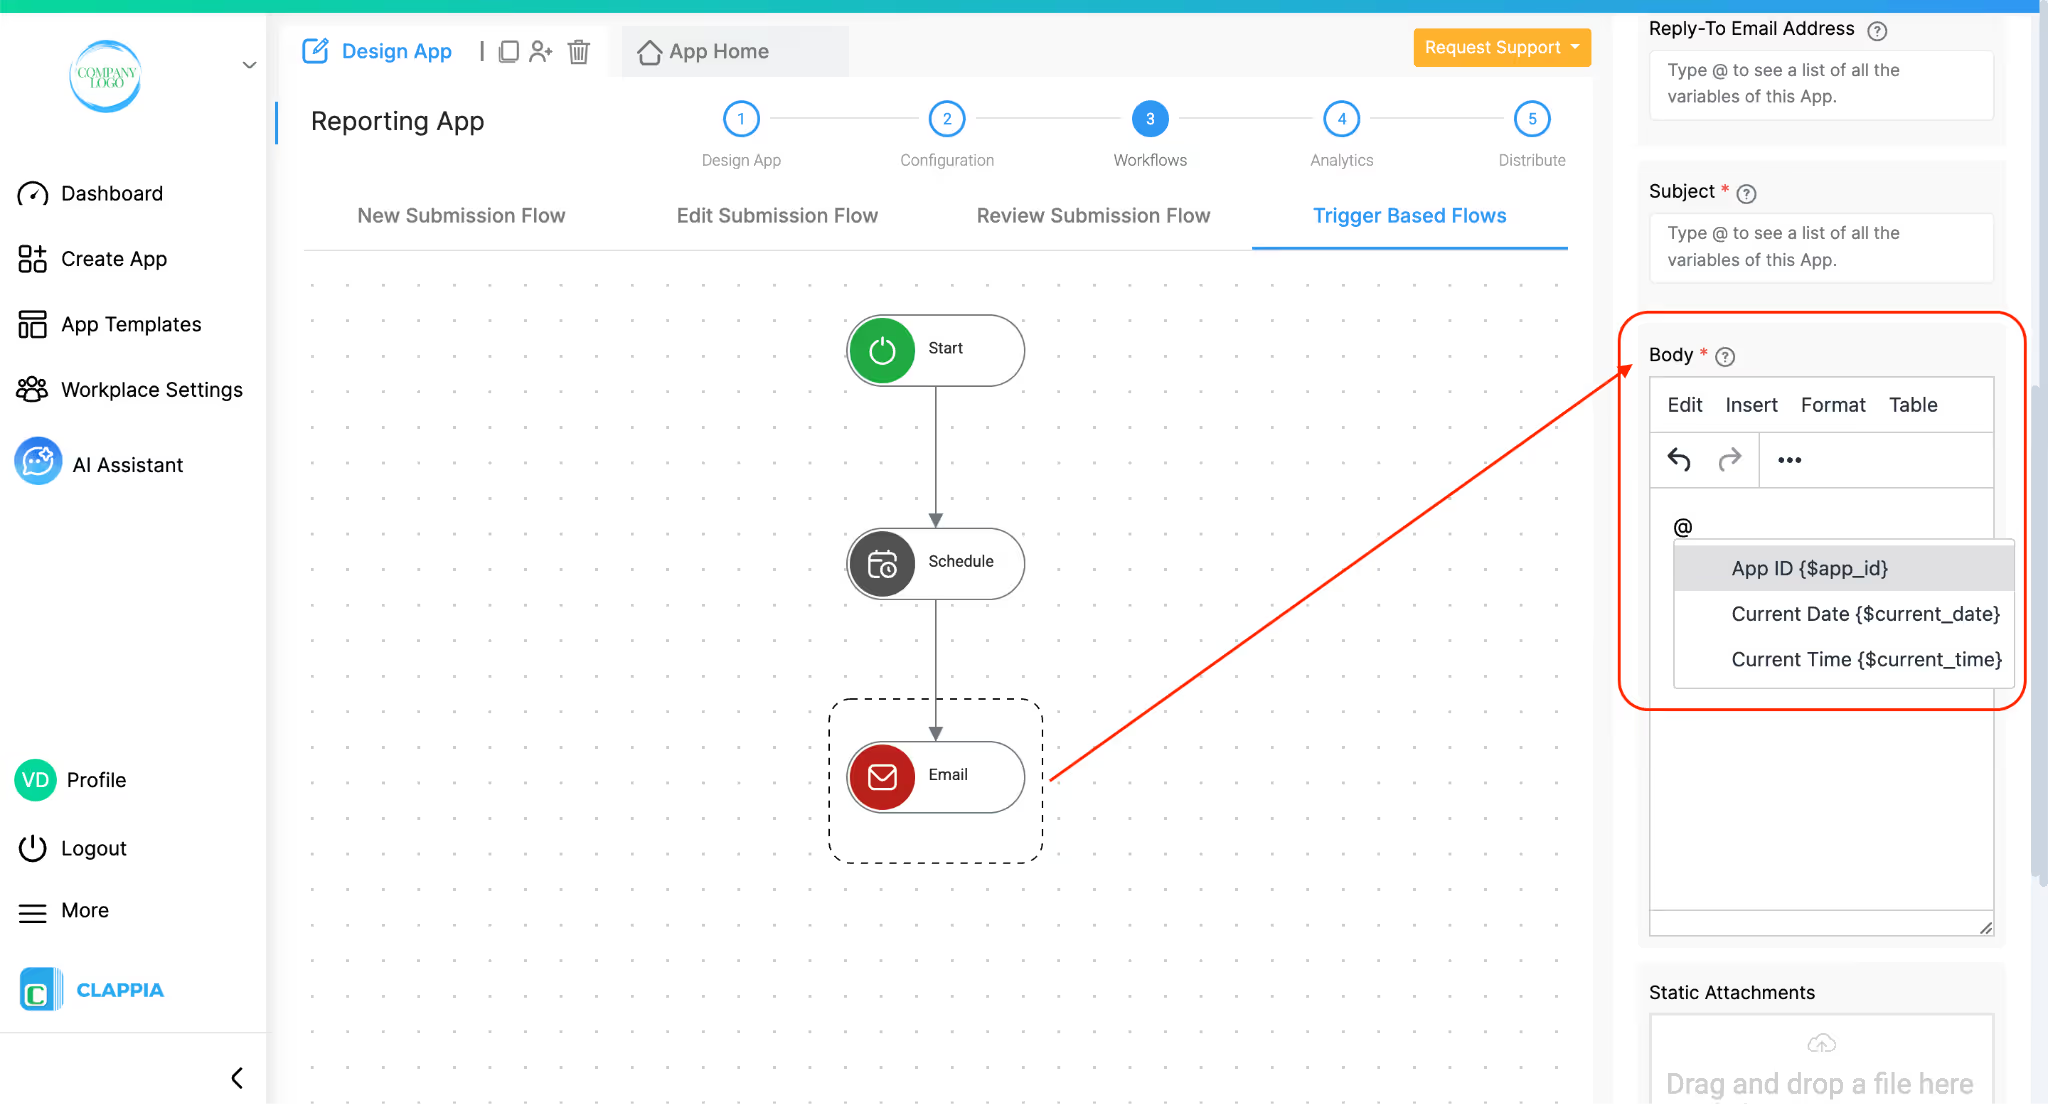
If a workflow step is added below the schedule workflow, then only app-level information is available in the steps that follow. These can be pulled by typing @ and a list of available app details can be pulled dynamically:
App ID {$app_id}
Current Date {$current_date}
Current Time {$current_time}
All Users {$allUsers}
All Reviewers {$allReviewers}
All Data Admins {$allDataAdmins}
You will not be able to access field values from any submission.
If you need to work with submission data in a workflow step below Schedule, you must first add a Find Submissions step. Once Find Submissions is added, the workflow gains submission context. All steps added after Find Submissions can then use field values from the app selected in the Find Submissions step, along with the app-level variables.
This distinction is important when configuring steps like Email, If, or Code, where submission field values may be required.
Once the workflow is saved and enabled:
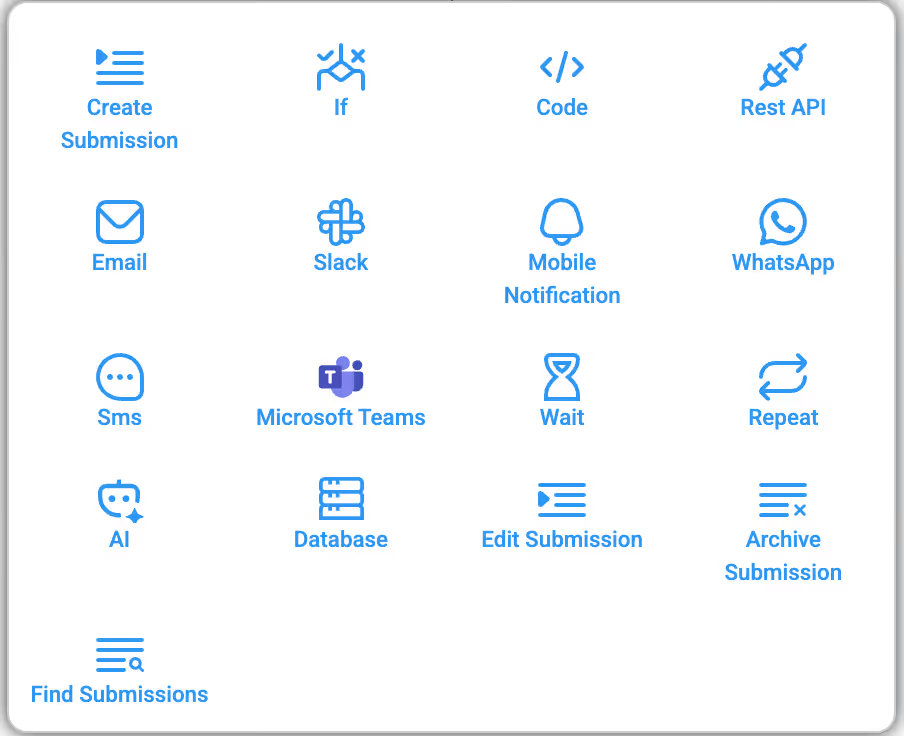
The following workflow steps can be used after the Trigger Email step:
Create Submission
If
Code
Rest API
Email
Slack
Mobile Notification
WhatsApp
Sms
Microsoft Teams
Wait
Repeat
AI
Database
Edit Submission
Archive Submission
Find Submissions
You can check this using the Workflow Logs. Go to your app and open the App Home section. Then click on the Logs tab. By default, you'll see the Workflow Logs tab open. Click on any log entry to see a panel on the right showing the execution status. If there's an error, the panel will indicate where it occurred.
The Schedule Workflow runs independently of any submission. Because of this, it does not have access to submission field values by default.
When you type @ under a step placed directly below Schedule, you will only see app-level variables such as current date, time, or user lists. If you need to work with submission data, you must first add a Find Submissions step. Once Find Submissions runs, the workflow gains submission context, and the form fields from the selected app will then become available in the steps that follow.
The Schedule Workflow runs according to the Workplace Admin’s timezone settings, not the device timezone of the person configuring it.
If the workplace timezone is different from your local timezone, the schedule will follow the workplace setting. You can verify or update the workplace timezone from the Workplace settings.
L374, 1st Floor, 5th Main Rd, Sector 6, HSR Layout, Bengaluru, Karnataka 560102, India
3500 S DuPont Hwy, Dover,
Kent 19901, Delaware, USA


3500 S DuPont Hwy, Dover,
Kent 19901, Delaware, USA
L374, 1st Floor, 5th Main Rd, Sector 6, HSR Layout, Bengaluru, Karnataka 560102, India
.svg)
