
Still need help?

This article explains the Code Workflow Node, which allows you to integrate custom JavaScript into workflows. It provides advanced functionality to handle complex logic, calculations, data processing, and external API calls, expanding the automation capabilities of your workflows. Learn more about using workflows in Clappia here.

Click on the node and start editing on the panel that appears on the right side.

This is the name that appears in the workflow panel on the left side. If there are multiple Code Workflow Nodes in the workflow, set different step names like Get Address or Calculate Discount so you can identify them easily. This is only a display name and does not affect the code, variables, or logic.
When you save the Code Workflow Node, Clappia automatically generates a variable for this step (for example {code}). This variable represents the output of this node and is used internally when you reference its values in later workflow nodes.
When referencing the output in later nodes (like Email, If, or Create Submission), just type @ and start typing the step name (for example code or Get Address or whatever you have named it). Clappia will show the output labels you defined under Output Fields (read on below to know more), and you can select the one you need.
The Code section is where you write custom JavaScript to perform calculations, validations, and other custom logic during the workflow execution. When you add the code workflow node, you will see a sample code appear. This sample code is only for reference on how the Code Workflow Node works and can be completely removed or replaced with your required code.
What the sample code is about:
Tip: If you’re unsure about writing the code, you can use AI tools like ChatGPT, Claude, or Gemini to generate it for you. You can copy the sample code shown in the Code Workflow Node and paste it into the AI to help it understand the required structure. Then ask it to generate your required code in the same format.

The Output Fields section is where you define which values returned by your code will be available as variables for use in other workflow nodes. These names must match the output names that are defined and returned inside your code.
Using the sample code above as an example, the code returns two outputs: sum and prod. To make these available outside the Code Workflow Node, you need to manually add them here.
In the Output Field text box, type:
Then click on Add another field and type:
Once added, both sum and prod will be available as variables that you can use in other workflow nodes such as the Email Node, If Node, Create Submission Node, etc. Only the values that are returned by the code can be added in the output fields.
Once the output fields are defined, the values can be referenced in other nodes:
To pull up any of the output variables from the Code workflow node, type @ followed by the name of the node (if you haven’t changed the name, it will be code). You will see the output labels. Select the ones you need to pull up the output dynamically. For example, in the sample usecase, it will look like: {code#sum} and {code#prod}.
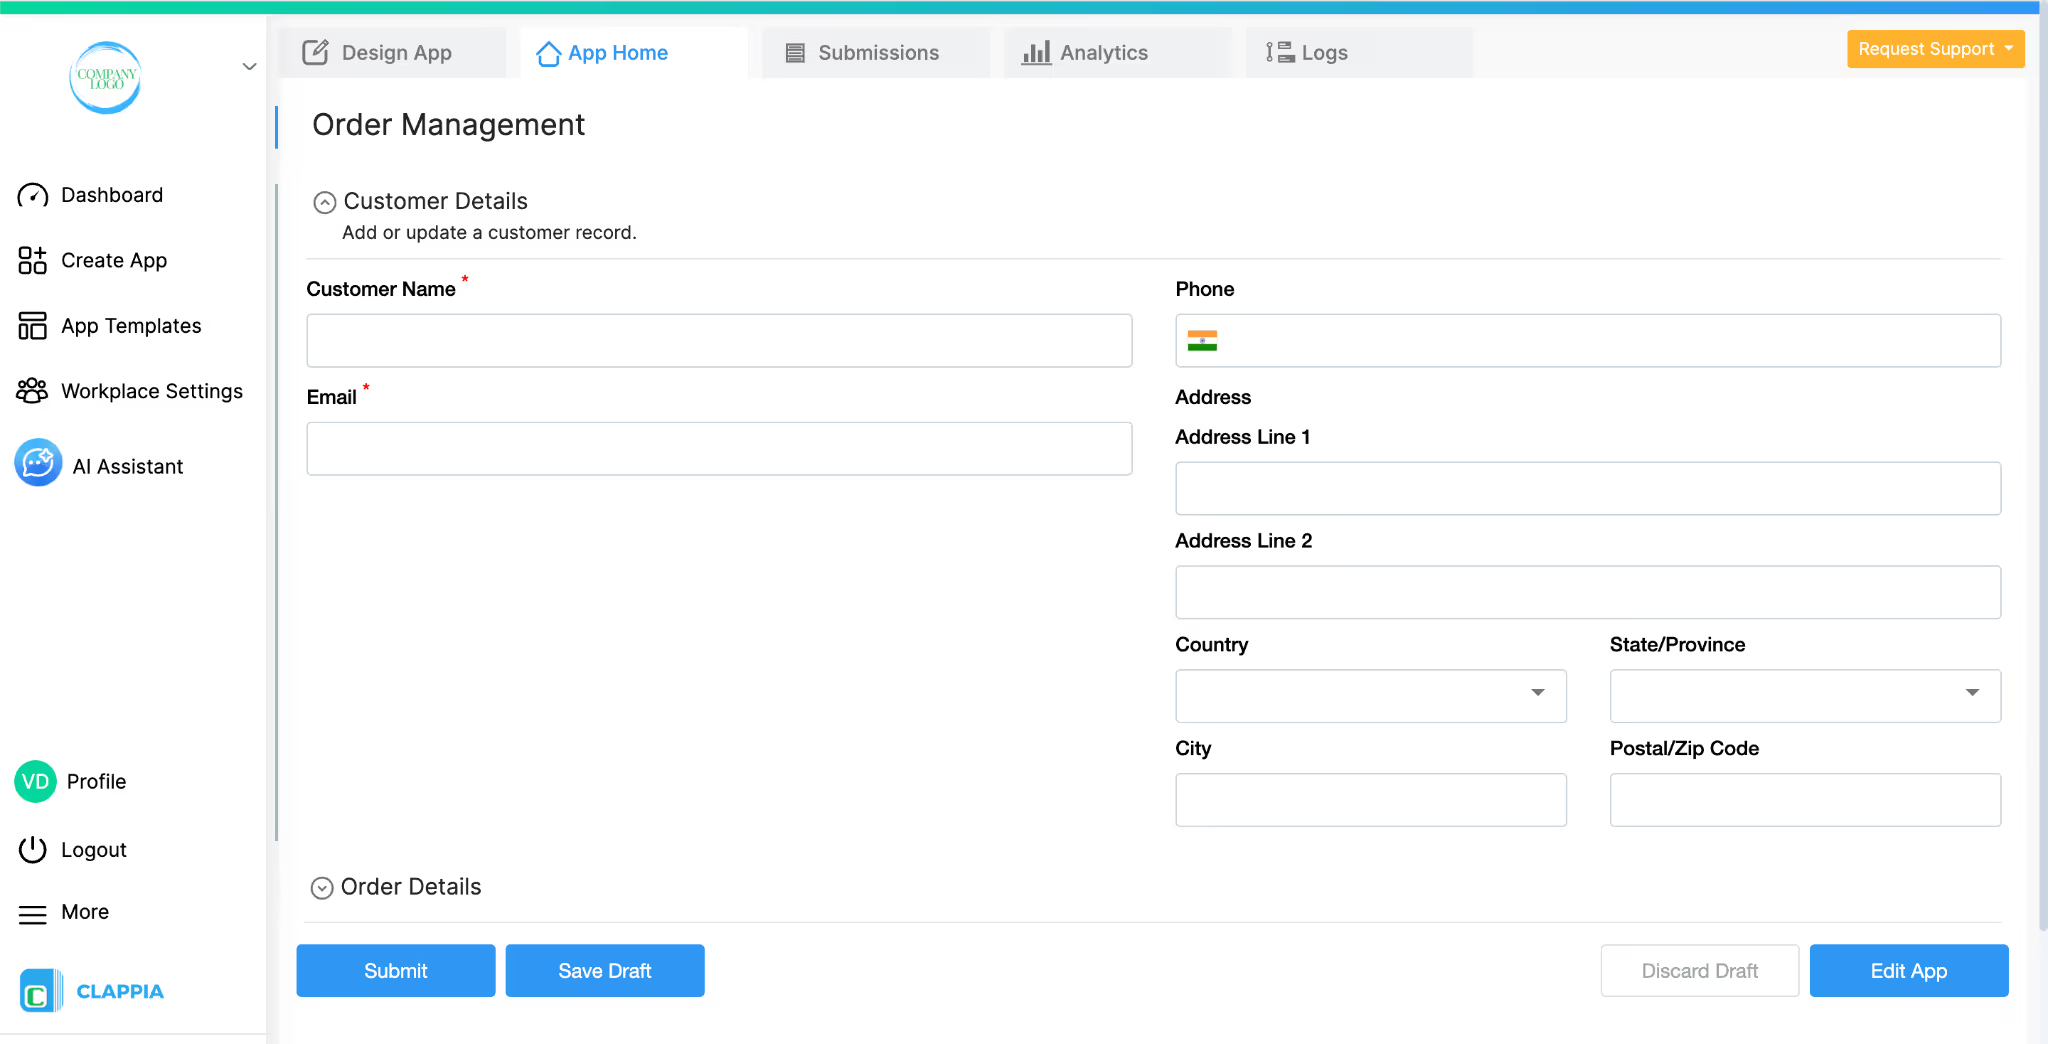
Let’s say you have an order management app or a simple feedback form where a user submits a form, and based on a randomly generated result, some users are selected for a special offer while others are not.
Every time a submission is made, it triggers the workflow (if kept under ‘New submission flow’).
As part of this workflow, the Code Workflow Node runs the same sample code shown again below;
In this sample code, it generates two random numbers, num1 and num2. Each of these is a whole number between 0 and 10. From these, the code calculates:
Now, imagine a simple example where a user is selected for a special offer only if they get the number 21. Which means you will have to use “prod” in the output field. If prod is 21, the user receives an email saying they have been selected for a special offer. If prod is anything else, the workflow simply continues without sending that email.
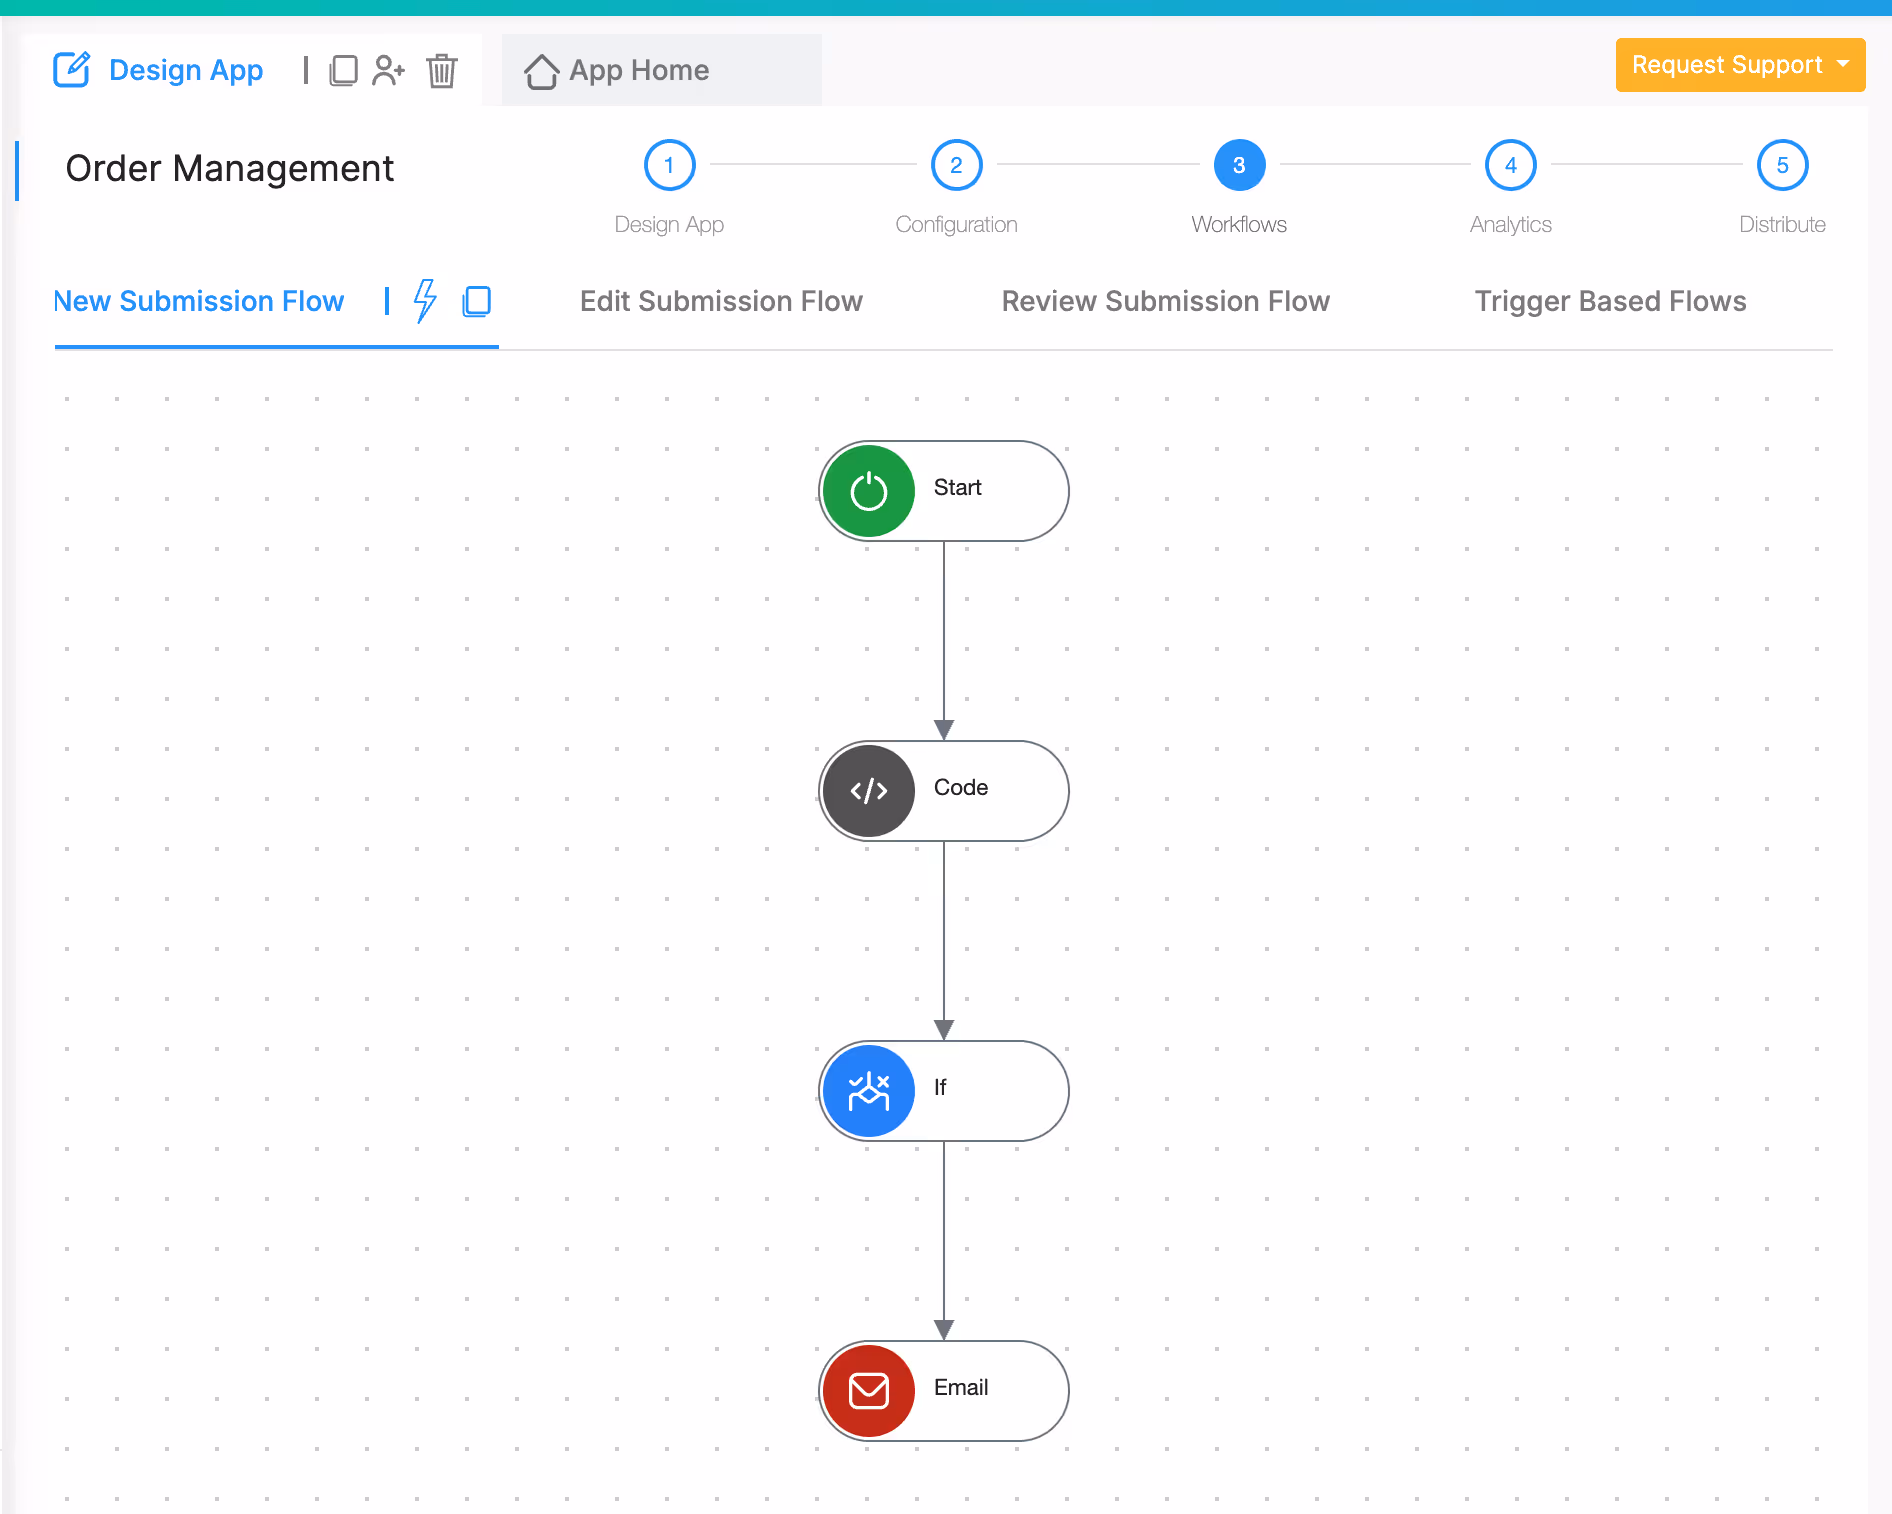
To set this up, add a Code node, IF node then an Email node.
In the Code Workflow Node, keep the same sample code.
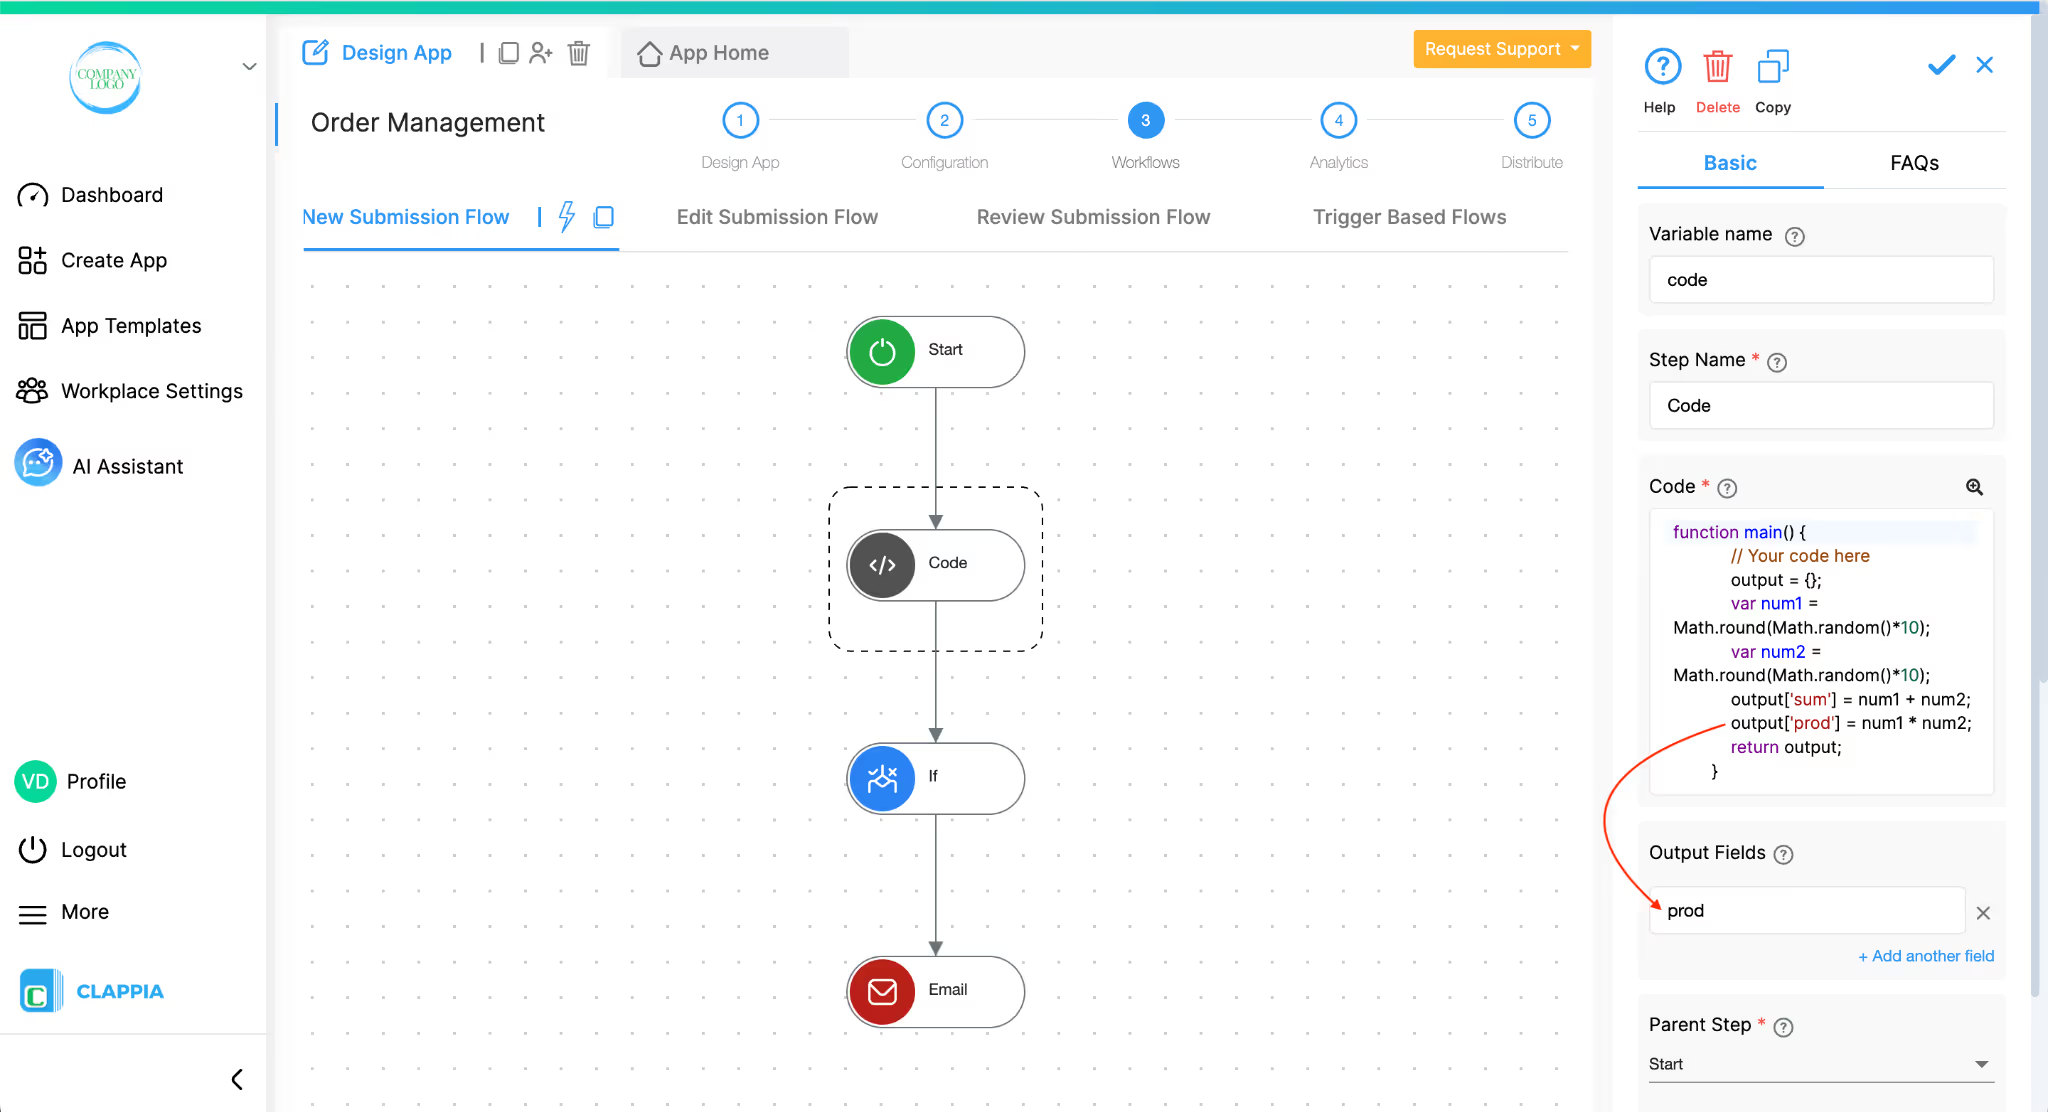
In the Output Fields section for this node, add prod so that the product value from the code is available to the next steps in the workflow.
In the If Node, set a condition to check whether the output prod is equal to 21. Type @ to get the code output fields variable.
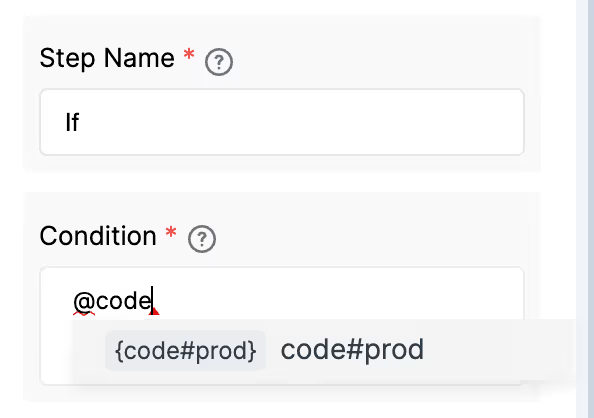
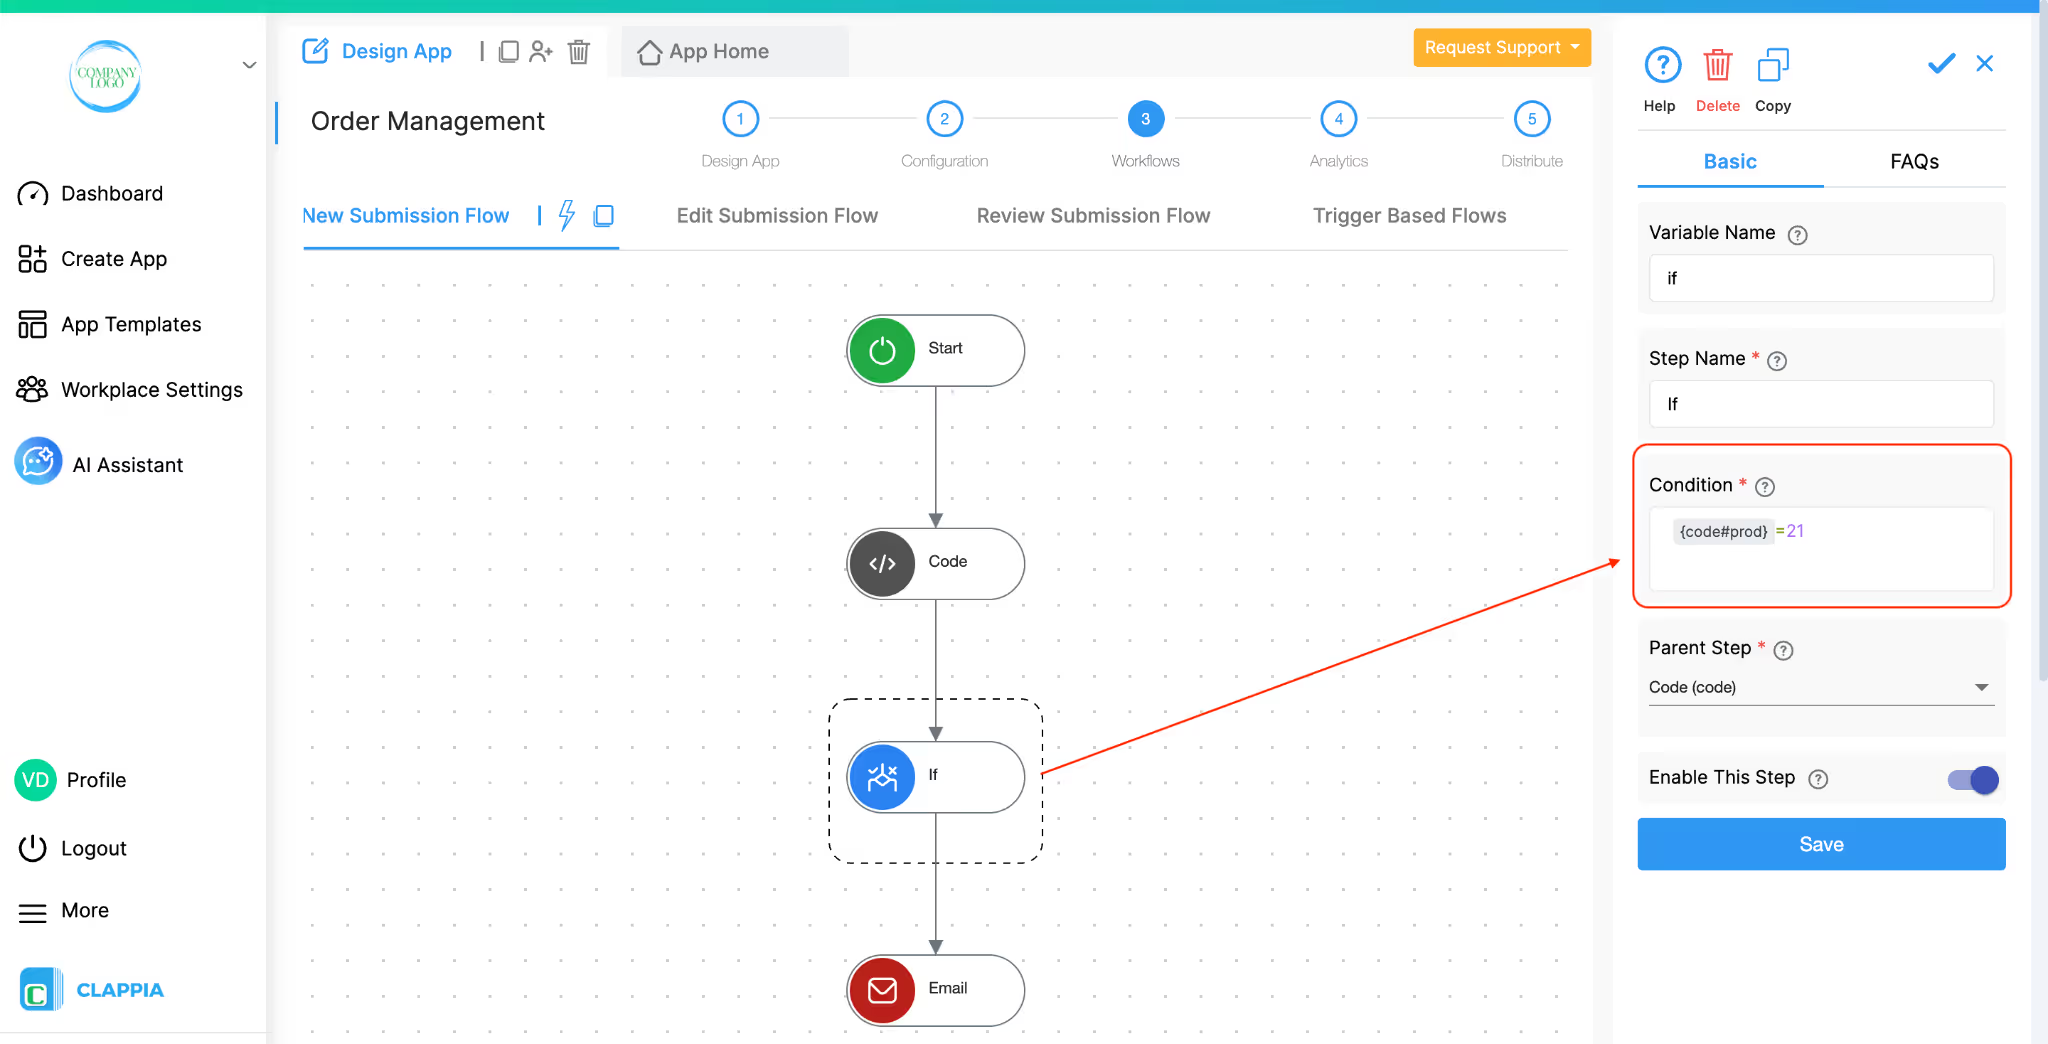
So the condition should be {code#prod} = 21 .
The Email node below it will be sent to the user only if the condition is true, if not then nothing happens.
The Code Workflow Node introduces advanced capabilities to Clappia workflows, enabling dynamic, JavaScript-powered automation that enhances data handling, custom logic, and integrations.
Workflows in Clappia run on individual submissions, such as when a user submits or manually edits a record. However, when using Bulk Upload or Bulk Edit from the Submissions tab, workflows are not triggered, even though new submissions may be added or existing ones updated.
This is because workflows are designed to process one submission at a time. Triggering them for bulk operations can lead to incomplete or inconsistent results, especially for complex workflows.
If you need workflows to run after a bulk operation, currently you will need to open each submission manually and save it. This will count as an edit and trigger the workflow normally.
Currently, only JavaScript is supported in the Code Workflow Node. Other languages are not yet supported, so all custom logic, calculations, and API interactions need to be implemented using JavaScript.
If you are unfamiliar with Javascript, you can always use AI assistance to generate the code for you.
L374, 1st Floor, 5th Main Rd, Sector 6, HSR Layout, Bengaluru, Karnataka 560102, India
3500 S DuPont Hwy, Dover,
Kent 19901, Delaware, USA


3500 S DuPont Hwy, Dover,
Kent 19901, Delaware, USA
L374, 1st Floor, 5th Main Rd, Sector 6, HSR Layout, Bengaluru, Karnataka 560102, India
.svg)
