
Still need help?

This page covers the submission edit workflow. Edit submission workflows can be used to edit submissions in another Clappia app based on triggers from the app on which the workflow is configured. For help related to how to add workflows to your app, click here

After you have added the edit submission workflow node to the app, you will be able to configure it. If the right panel which shows the details of the step is not shown you should click on the newly added node to proceed.

The right panel is used to configure the workflow. The details for each field is as shown below.

This is the name of the step. The name set here would be what would appear on the workflow graph on the left. This field is required and you cannot keep a blank name.

This shows the list of apps for which the workflow can be configured. If you don't have access to any other apps in the workplace, it would show an error. Select any app from the list to proceed.
For the selected app to work with this workflow, there are 2 conditions that should be met:

Once an app is selected, additional options appear to be filled in.

Filters are used to configure which submission in the target app needs to be edited. To add a filter click on the 'Add Filter' option in the right panel.
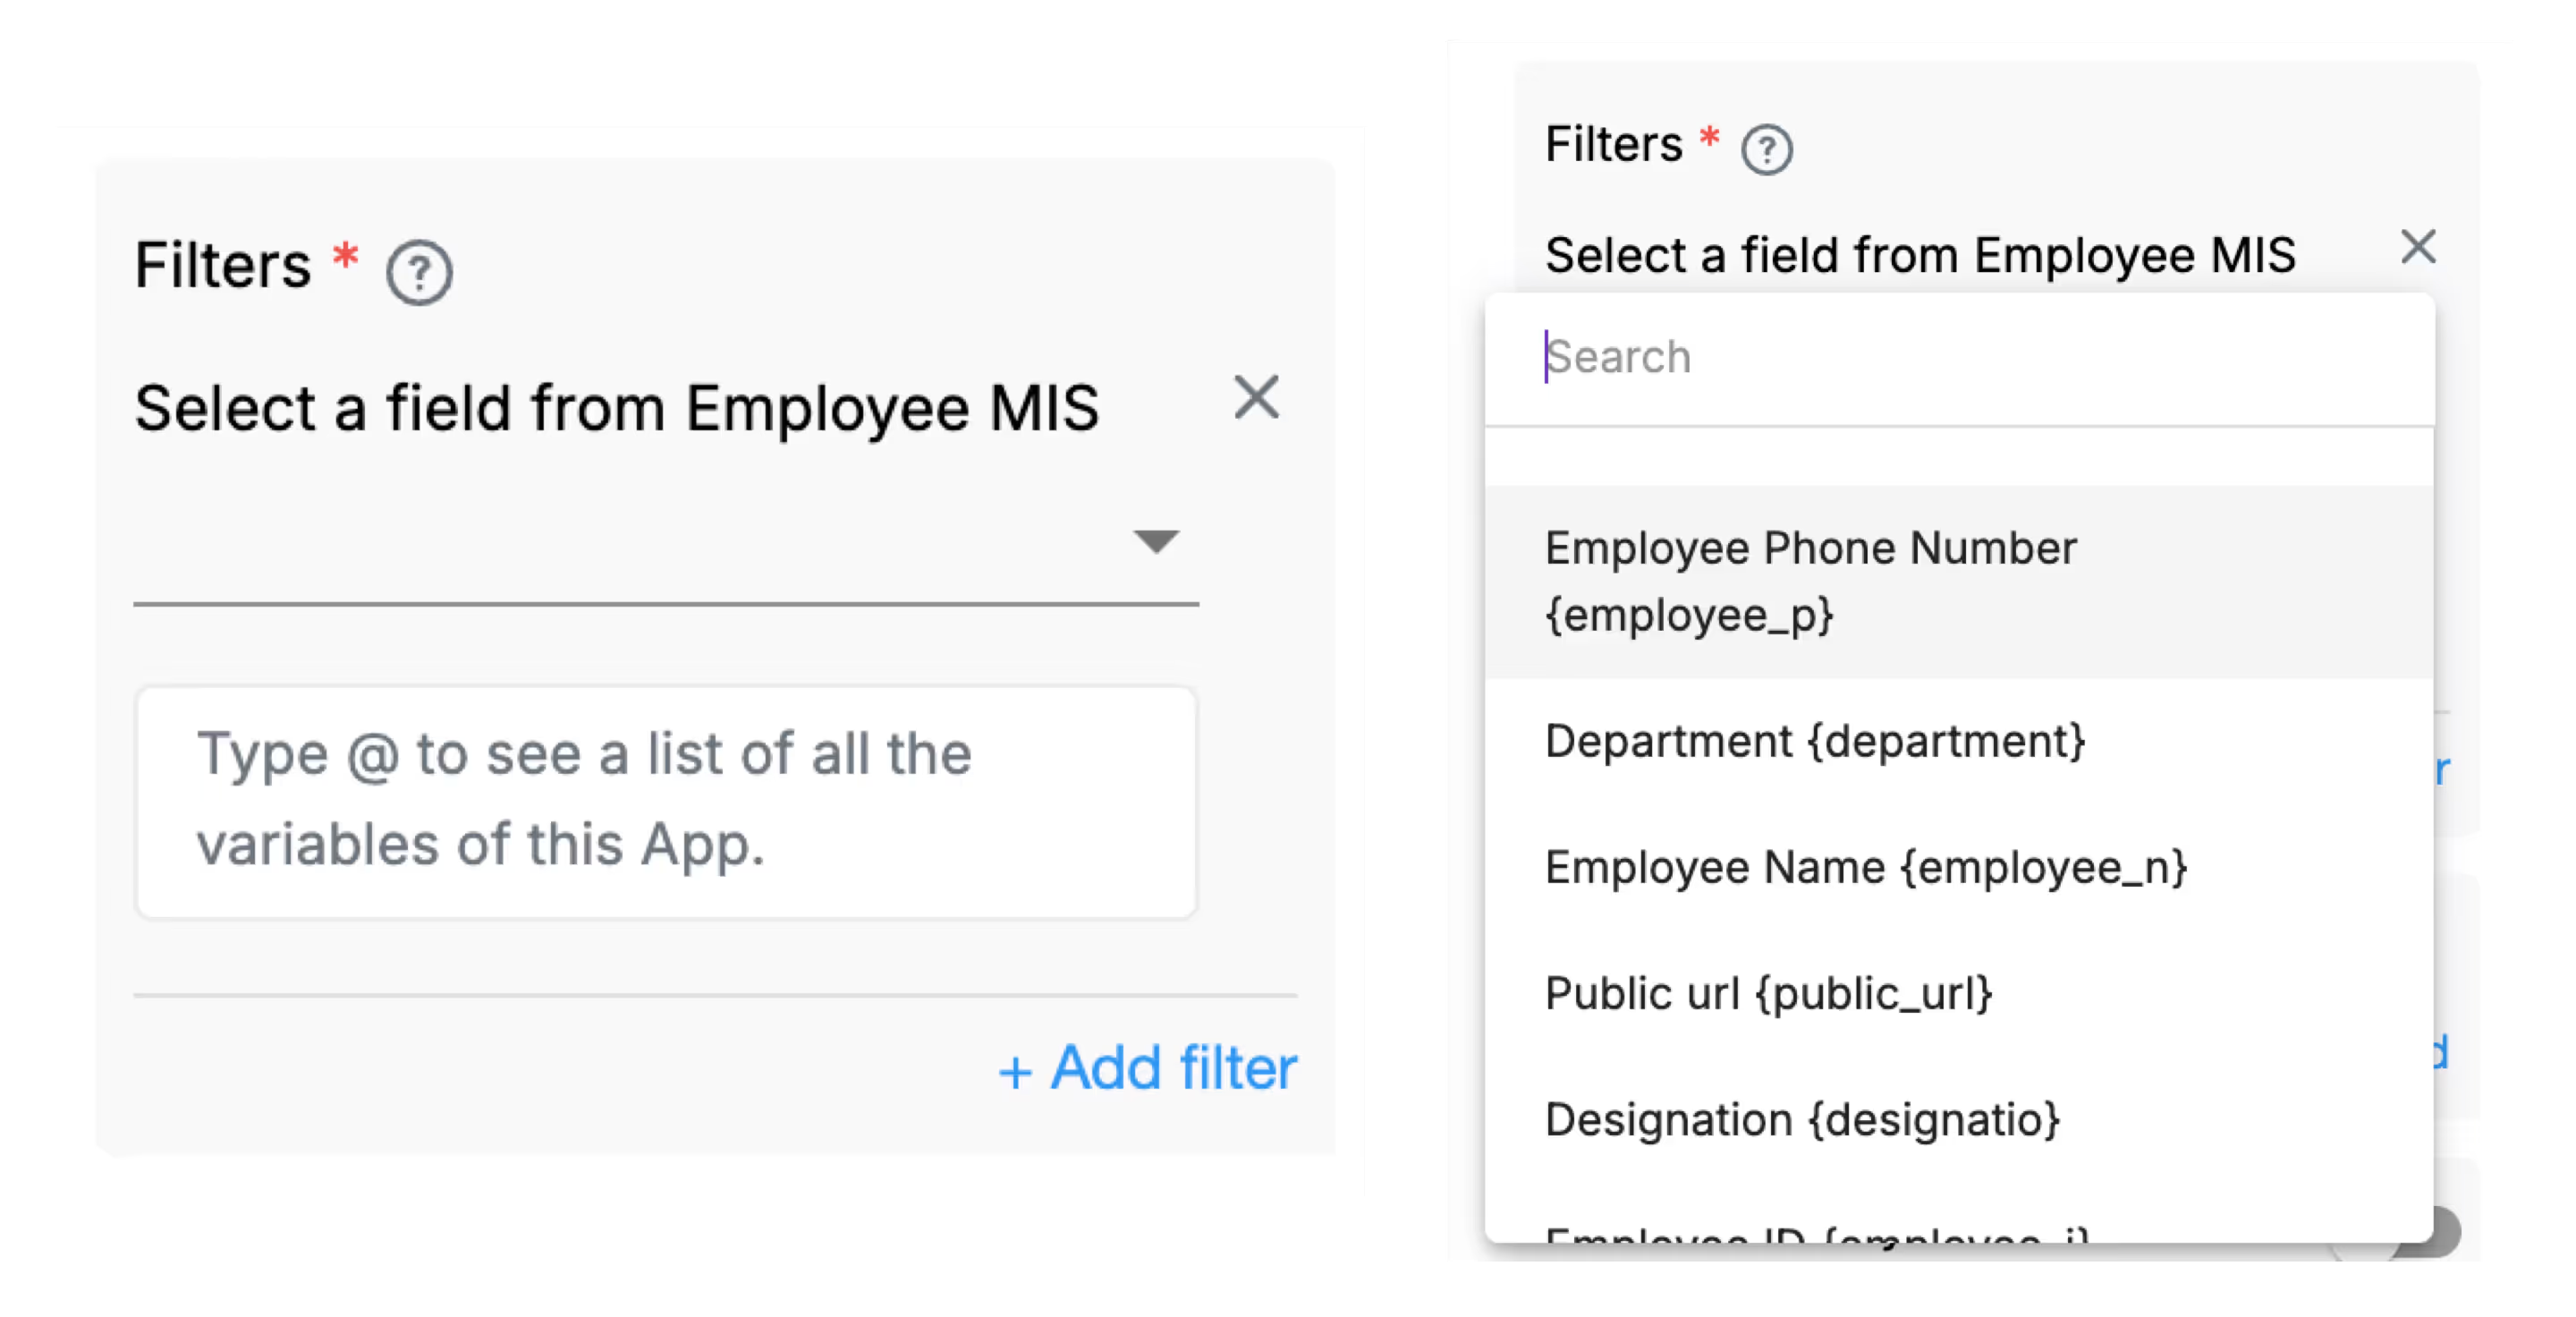
You can add multiple filters to the workflow. Each filter would consist of 2 fields. The first one is to select the field in the target app. The second field is a formula field to provide the value to be filtered.
You can select the field from the dropdown. Note that some field types are not supported by this workflow node. To know the list of allowed fields, refer to the 'Configurable Fields' section in this article.
The second field is a formula block to provide the value for the filter. To know more about formula blocks, refer to this article

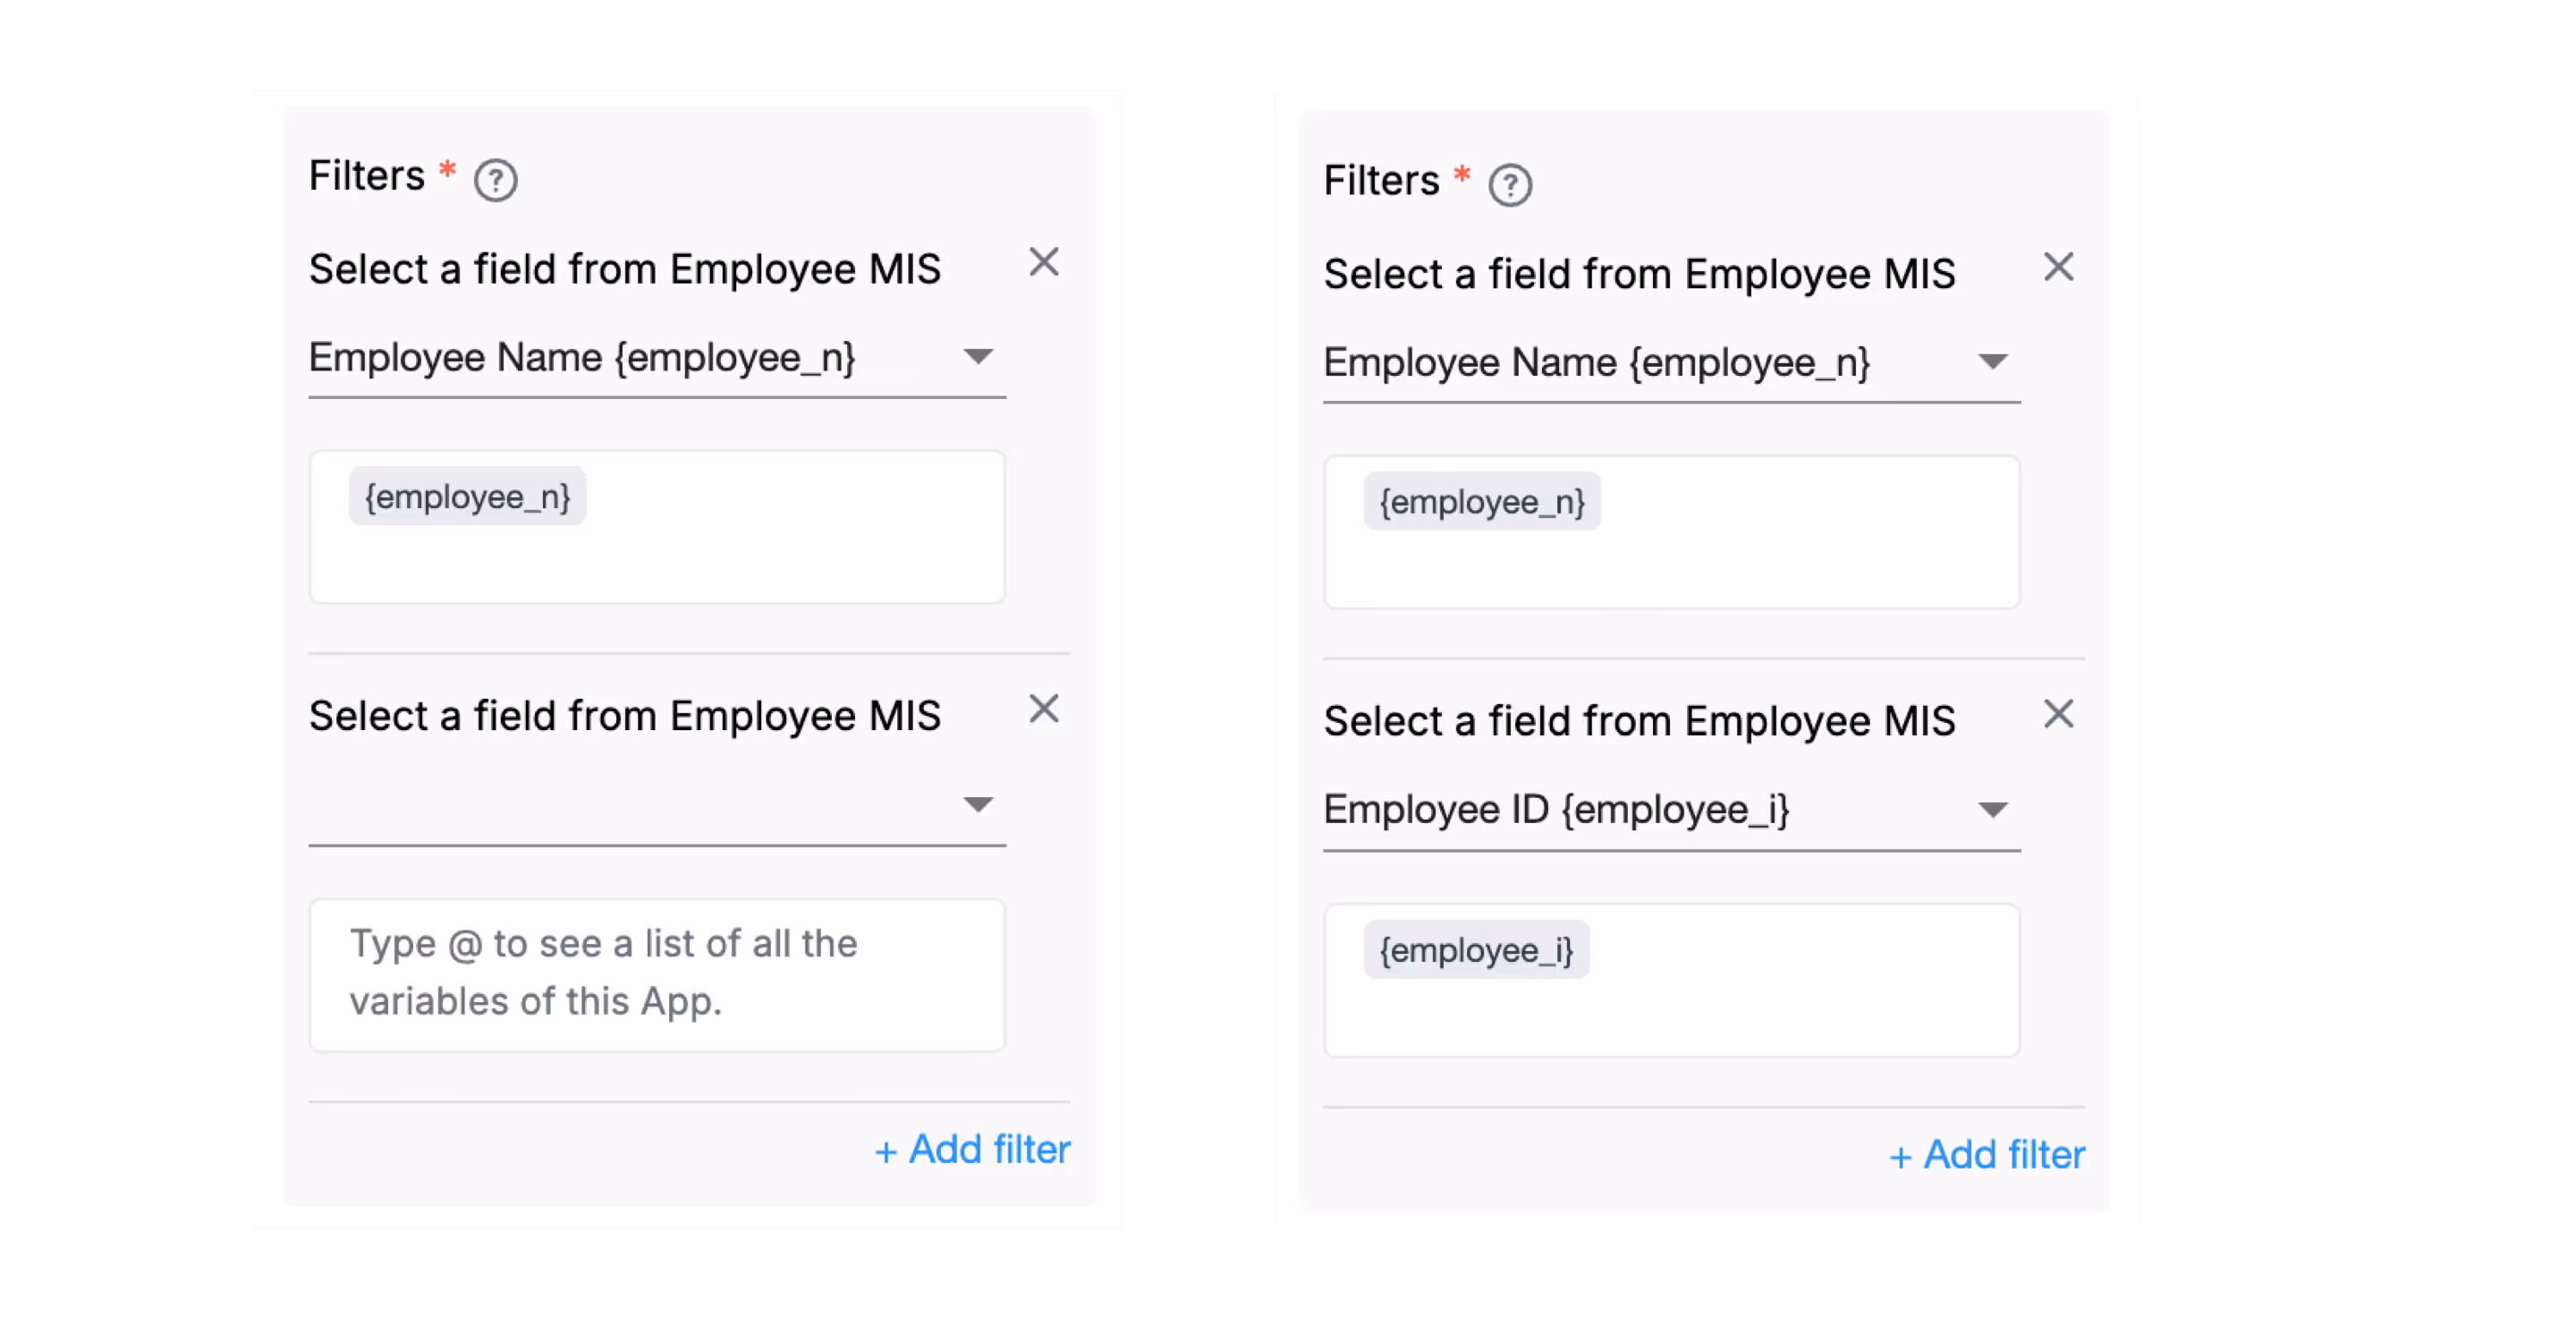
Click on the 'Add field' button to add a field to be configured.
You’ll need to choose fields from the target app to help Clappia identify which submission(s) need to be edited.
Make sure you pick a field that maps exactly to the data you're sending from the current app. It works best when the field in the target app has unique values per submission—like an Employee ID or Order Number. If one field is selected and you add another, the previous selected field will be greyed out.
If the data being passed doesn’t match correctly, the system will not be able to detect the correct submission to edit, and the workflow will fail or update the wrong record.

You can add as many fields as you require. Each field configuration would consist of 2 fields, similar to the filters section.

The first field is a dropdown to select the field to be edited in the target app. Note that not all field types are supported by this workflow node. Refer to the 'Configurable Fields' section in this article for the list of supported field types.
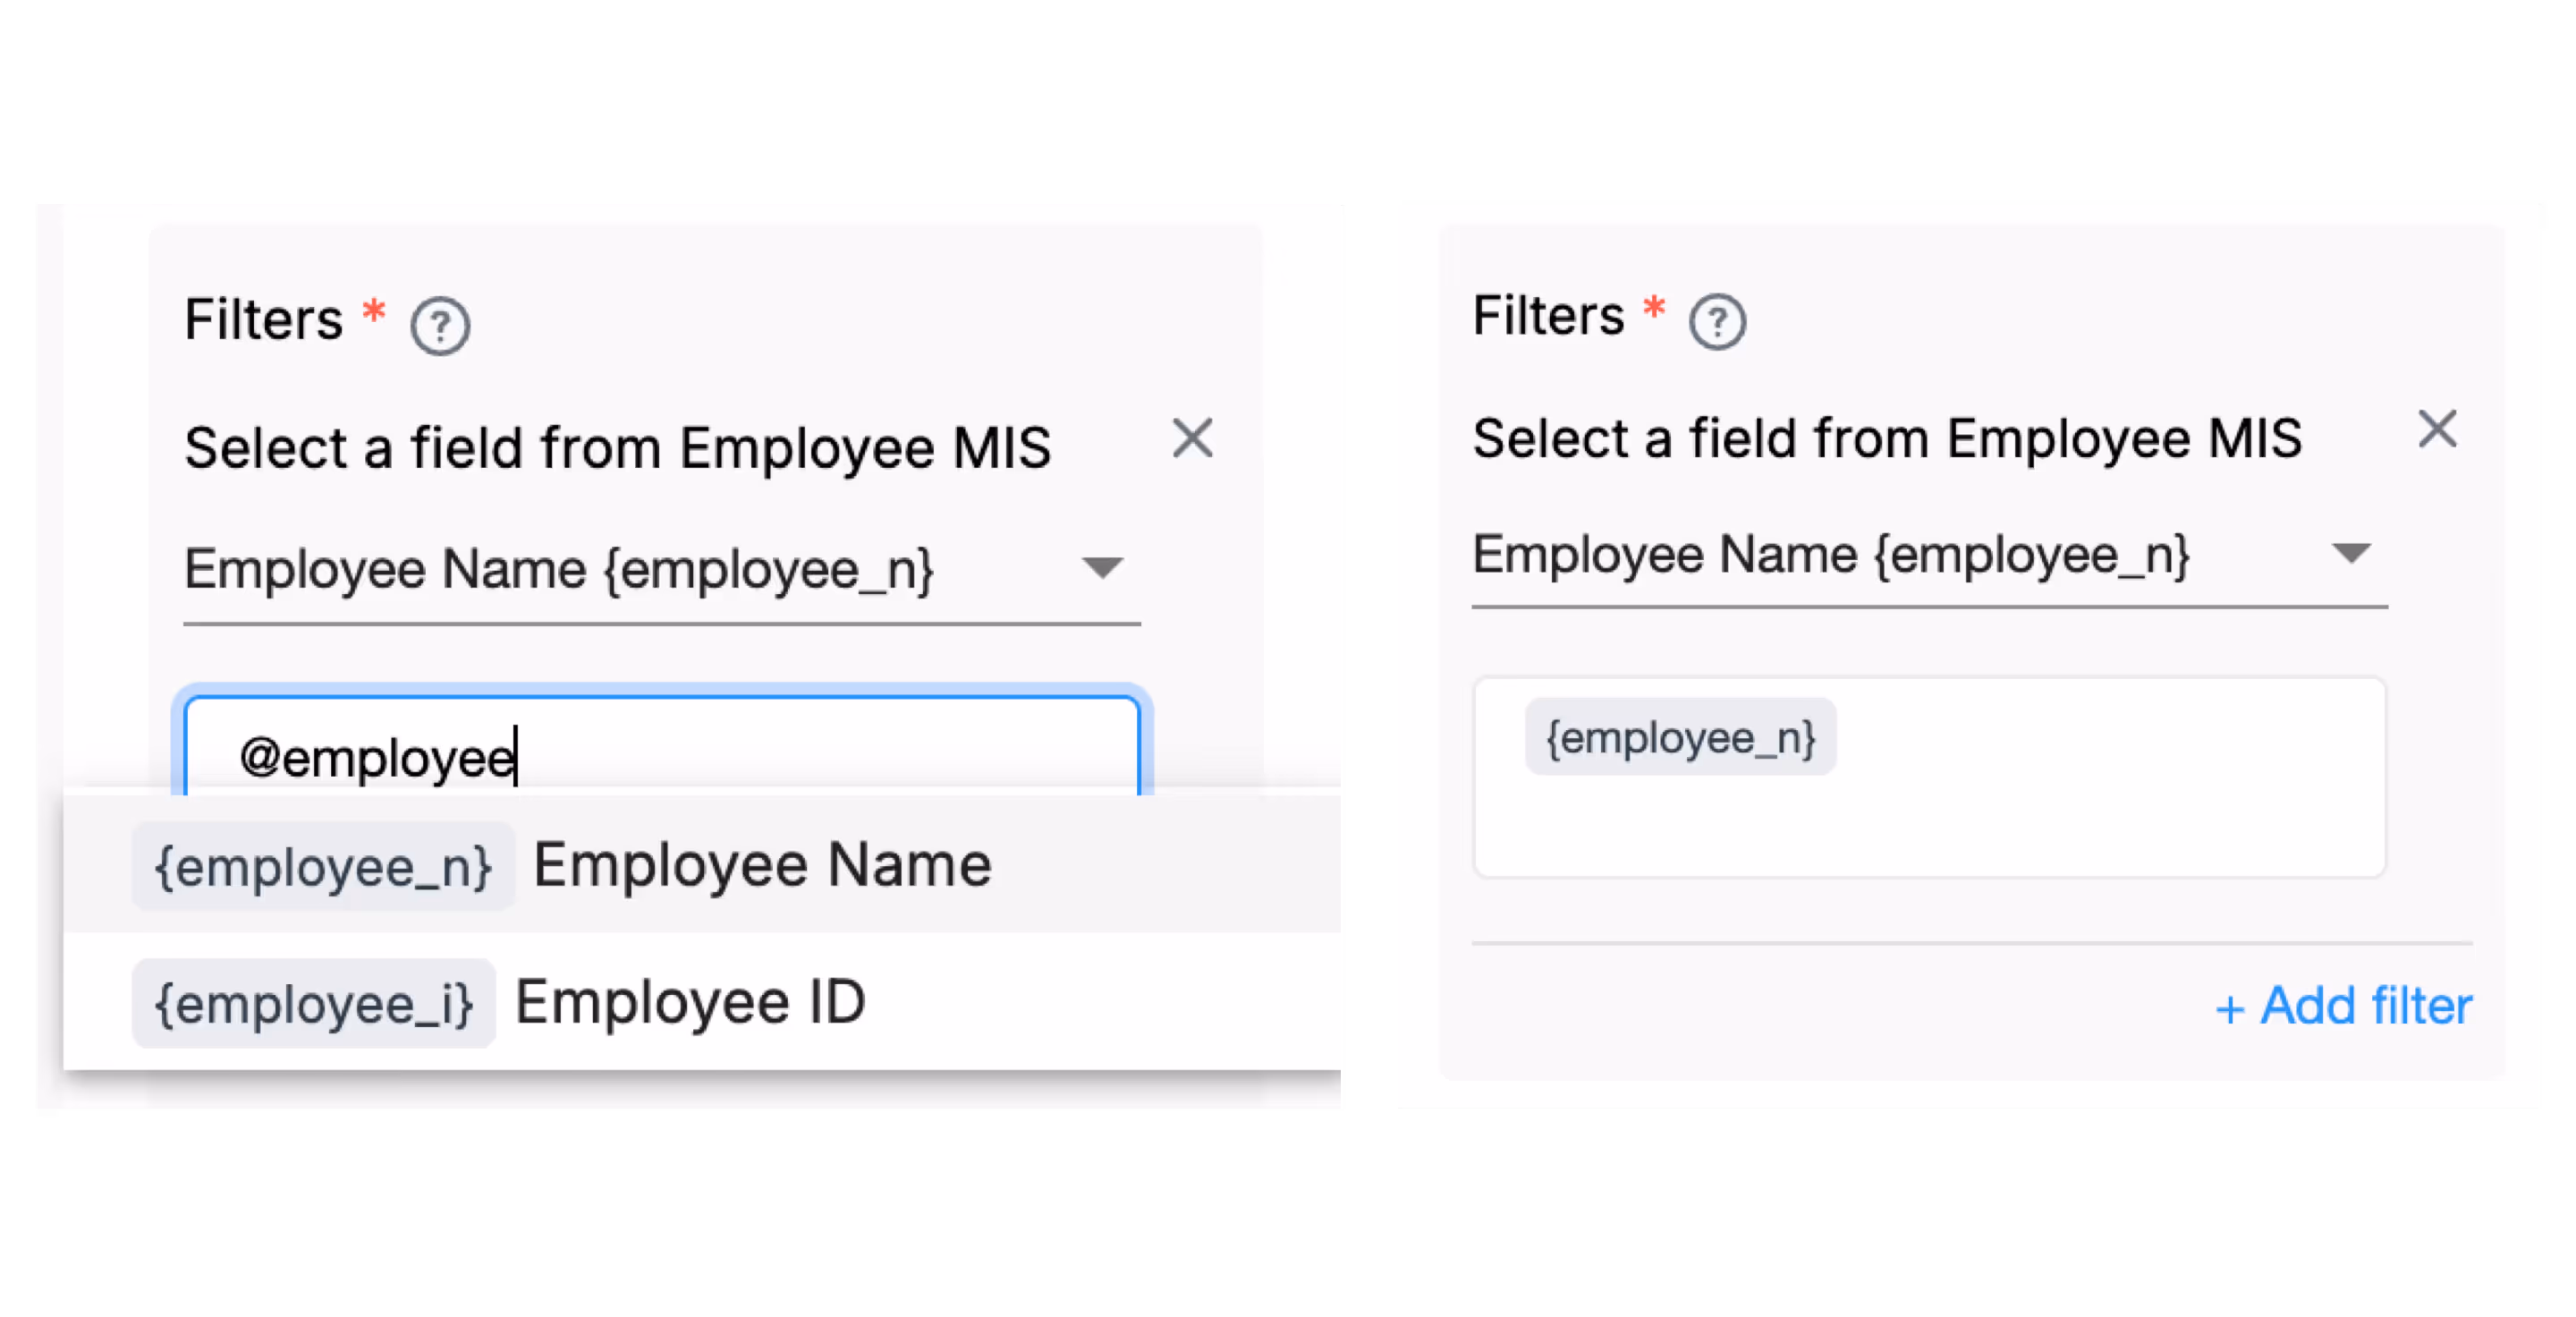
When you're setting values for fields, you can use existing field inputs from the app where this workflow is being configured. Simply type @ and a dropdown will appear showing available fields.
For example, if the current app has a field called Department, you can start typing @depart... and select {department} from the list to use that field’s value.
This is useful when you're taking data from the current submission and updating a related entry in another app using that value.
If the target app has statuses, you can also change them using this workflow. There would be a status option that you can select from the fields, provided that the target app has statuses and you have review data permission on that app.

However, if you try to set a status in the workflow that does not exist in the target app, either because it was misspelled or the status system is not set up at all, the submission will not be edited completely. Instead, the workflow will return an error.
You can view this failure in the Workflow Logs, where the step will be marked as Error.

This allows admins to debug and correct the status being used. Make sure all statuses you use in the workflow are predefined in the target app's configuration.
Using Values from Both Apps and Understanding Field Highlight Colors
When setting the field values, typing @ in the input box shows two types of fields:

This color coding helps you avoid confusion if both apps have fields with similar names. For example, if both apps have a field called Designation, and you want to use the value from the current app to update the one in the target app, select the light grey {designation}. This tells Clappia to pull the value from the current submission and apply it to the selected field in the target app.
You can also perform calculations in these input boxes using field variables. For example, in an inventory scenario:
{current_stock} + {new_stock}

Here, {current_stock} could be from the target app and {new_stock} from the current app. This would add the new stock quantity to the existing stock value.
This toggle determines whether the workflow step should execute when a submission is edited automatically by the system (i.e., not directly by a user).

To explain this better, let’s consider the following example:
Suppose there are three apps – App 1, App 2, and App 3.
Now, when a user makes a submission in App 1:
This is because the submission edited in App 2 was done by the system (via workflow), not by a user. And by default, Clappia only triggers workflows when a user makes or edits a submission, not when the system does it.
To ensure that the workflow in App 2 runs even for system-edited submissions (like the one done by App 1), you need to enable the “Execute with System Workflow” option in the workflow step of App 2.
In simple terms:
Note on Cascading System Workflows
When the ‘Execute with System Workflow’ toggle is enabled, you will see a message that appears at the bottom of this option: Enables up to 3 levels of cascading system workflow triggered actions. If the workflow step is being triggered by a submission that was itself edited through another workflow, then this chain of system-generated executions can only go up to three levels.
For example, if:
In this chain, the workflow till App 3 will run and edit the submission in App 4, but if App 4 also needs to edit a submission in App 5, it will not work, because it would be the 4th level of system-triggered workflow execution.

This limit is in place to avoid infinite or excessive workflow chains. The 3-level cap ensures performance and stability when workflows automatically trigger each other.
This restriction only applies to system-generated submissions. If the submission was edited manually by a user, the depth limit does not apply (for example, if a repeat node is used with the edit submission workflow node).
You can assign a submission to multiple other users of the app using this workflow. This field accepts a comma-separated list of email Ids. The email Ids can be either static ones or can also be pulled from the variables defined in the app. Additionally, you can choose to remove the current owners from this submission.

If the filter criteria defined above matches with more than one submission in the target app, use this option to decide whether to edit all the matching submissions (upto 100) or not. If more than 100 submissions match the filter criteria, only the top 100 (with the most recent Submission timestamp) will get edited.

Note: If this option is turned OFF and the filter criteria matches more than one submission, NONE of the matching submissions will be edited.

This defines the point in the workflow where this step should begin. Typically, it's set to Start, but you can link it to any other node to control when the Create Submission step should execute. In the image, you can see the parent node is set to ‘IF’.
This step is enabled by default. Disable this step for the node and the whole workflow below the node to stop from executing.
Workflows in Clappia run on individual submissions, such as when a user submits or manually edits a record. However, when using Bulk Upload or Bulk Edit from the Submissions tab, workflows are not triggered, even though new submissions may be added or existing ones updated.
This is because workflows are designed to process one submission at a time. Triggering them for bulk operations can lead to incomplete or inconsistent results, especially for complex workflows.
If you need workflows to run after a bulk operation, currently you will need to open each submission manually and save it. This will count as an edit and trigger the workflow normally.
L374, 1st Floor, 5th Main Rd, Sector 6, HSR Layout, Bengaluru, Karnataka 560102, India
3500 S DuPont Hwy, Dover,
Kent 19901, Delaware, USA


3500 S DuPont Hwy, Dover,
Kent 19901, Delaware, USA
L374, 1st Floor, 5th Main Rd, Sector 6, HSR Layout, Bengaluru, Karnataka 560102, India
.svg)
